 Pop Studio
Add Text to Photos on Android: Fonts, Styles and Placement
How to put a clean, readable caption on any collage or poster in Pop Studio, from the Font, Color, Style, Align and Opacity options to placement and typography tips.
Words change how people read a photo. "Weekend Trip" over a mountain view tells a story; "Happy 30th, Mai" turns a collage into a gift. But text on a picture can also go wrong quickly: white letters vanish into a bright sky, a long sentence covers someone's face, or a font that looked fun on its own fights with everything around it.
This guide shows you how to add text to photos on Android with Pop Studio, and how to make that text readable and good-looking. We walk through the text editor's five option tabs (Font, Color, Style, Align and Opacity), explain the Outline, Shadow and Label styles, show how to move, resize and rotate a caption, and finish with typography tips that work for feed posts, Stories and posters.
By the end you will be able to put a clean caption on any collage or poster in under a minute, and you will know the handful of rules that keep text on a photo legible.
Where to add text in Pop Studio
Text is available in every creative flow:
- Collage editor: the Text tab in the bottom bar.
- Poster editor: the Text tab. Poster templates also come with ready-made text layers such as a title and subtitle.
- Home screen: the Text shortcut in the Quick tools row.
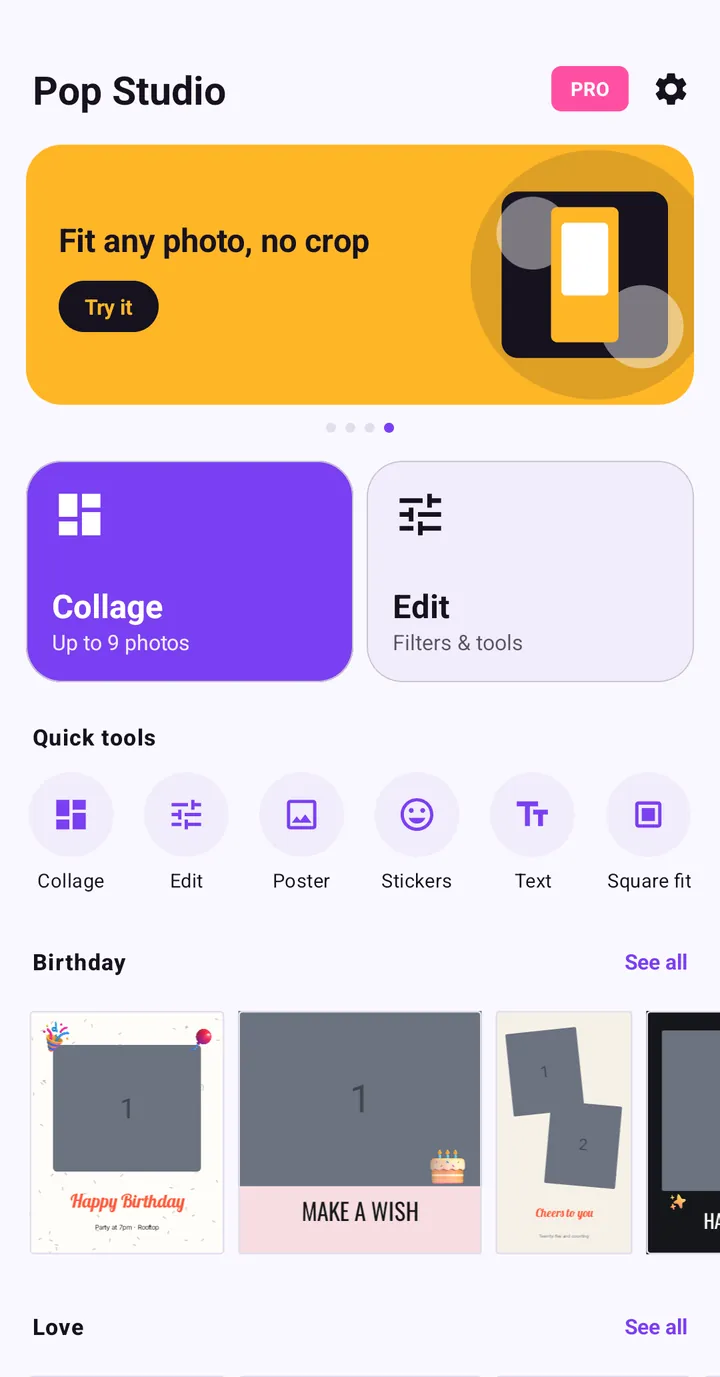
We use a four-photo travel collage in this guide. If you have not made a collage yet, the Pop Studio beginner guide gets you there in a few taps.
How to add text to photos in three steps
Every caption goes through the same three steps: type it, style it, then place it on the canvas.
Step 1: type your caption
In the collage editor, tap the Text tab. The screen dims, a white text box appears in the middle of the canvas, and the keyboard opens.
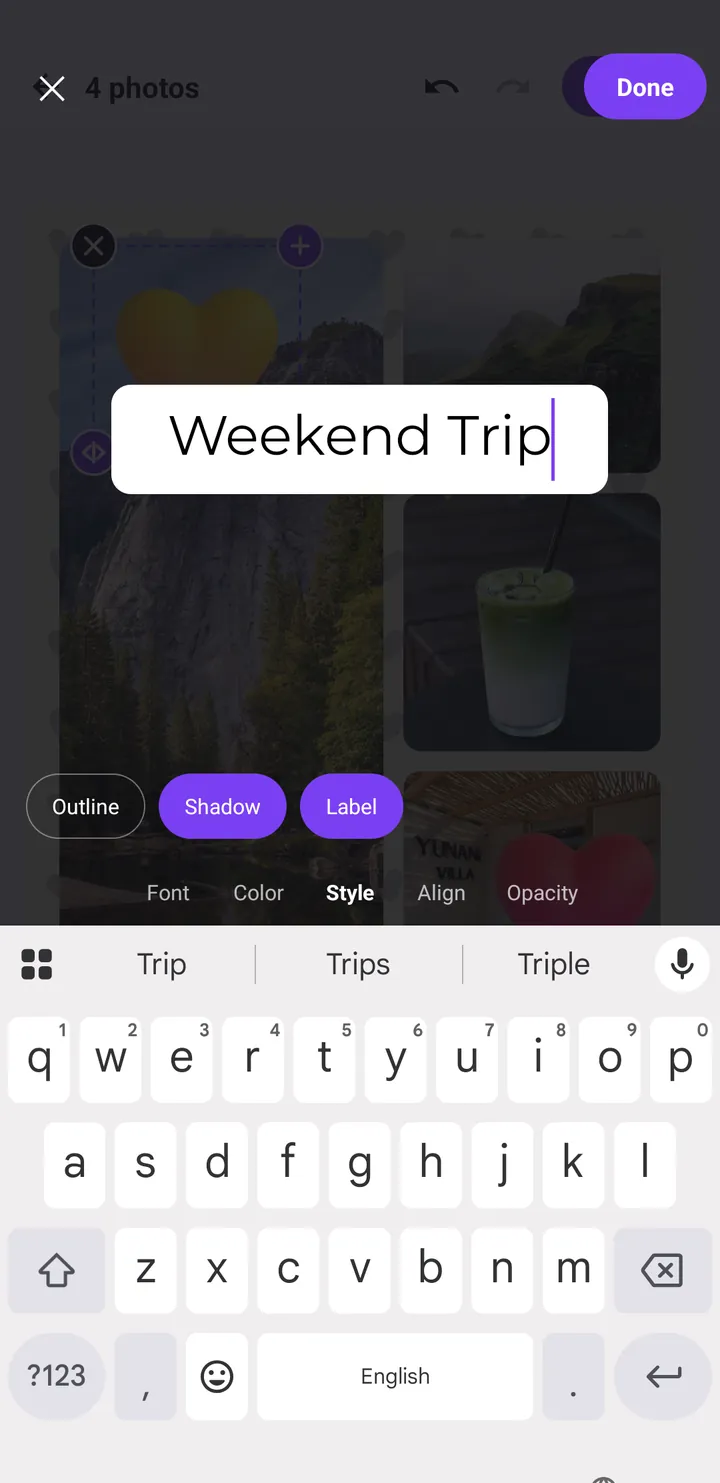
- Type your text. In our example: "Weekend Trip".
- Use the option tabs above the keyboard (Font, Color, Style, Align, Opacity) to style it. You can do this now or come back later.
- Tap Done in the top-right corner to place the text on your collage.
The X in the top-left corner closes the editor if you change your mind.
Write the caption first and style it second. It is much easier to judge a font or colour when you can see your real words rather than a placeholder.
Step 2: style the text with the five option tabs
The row of tabs above the keyboard holds every text setting. The active tab is shown in bold.
Font
Font changes the typeface. As a rule of thumb, clean sans-serif fonts are the most readable on small phone screens, while script or decorative fonts work best for one or two words, like a name or "Love". Pick one font per image; mixing several rarely looks good.
Color
Color sets the colour of the letters. The safest choices are white or near-black, depending on what is behind the text. A colour sampled from the photo, such as the green of a hillside or the red of a heart sticker, ties the caption to the image.
Style: Outline, Shadow and Label
The Style tab has three toggles, and they are the secret to readable text on busy photos.
- Outline draws a thin line around each letter. It separates text from a background of a similar brightness.
- Shadow adds a soft drop shadow, lifting the text off the photo. It is subtle and works on almost any image.
- Label puts the text on a solid rounded box, like a tag. This is the most legible option of all, because the text no longer sits directly on the photo.
Each toggle turns purple when it is on, and you can combine them. In our example, Shadow and Label are on, which gives a clean white tag with dark text that reads clearly over the forest and the lake.
Align
Align controls how lines of text line up with each other. It matters when your caption has more than one line, such as a title on one line and a date on the next.
Opacity
Opacity makes the text more or less transparent. Lower opacity is useful for a soft watermark-style signature or a quiet date in a corner. For the main caption, keep it fully opaque so it stays readable.
Step 3: move, resize and rotate the text
After you tap Done, the caption appears on the canvas, selected, with a dashed box and round handles on its corners.
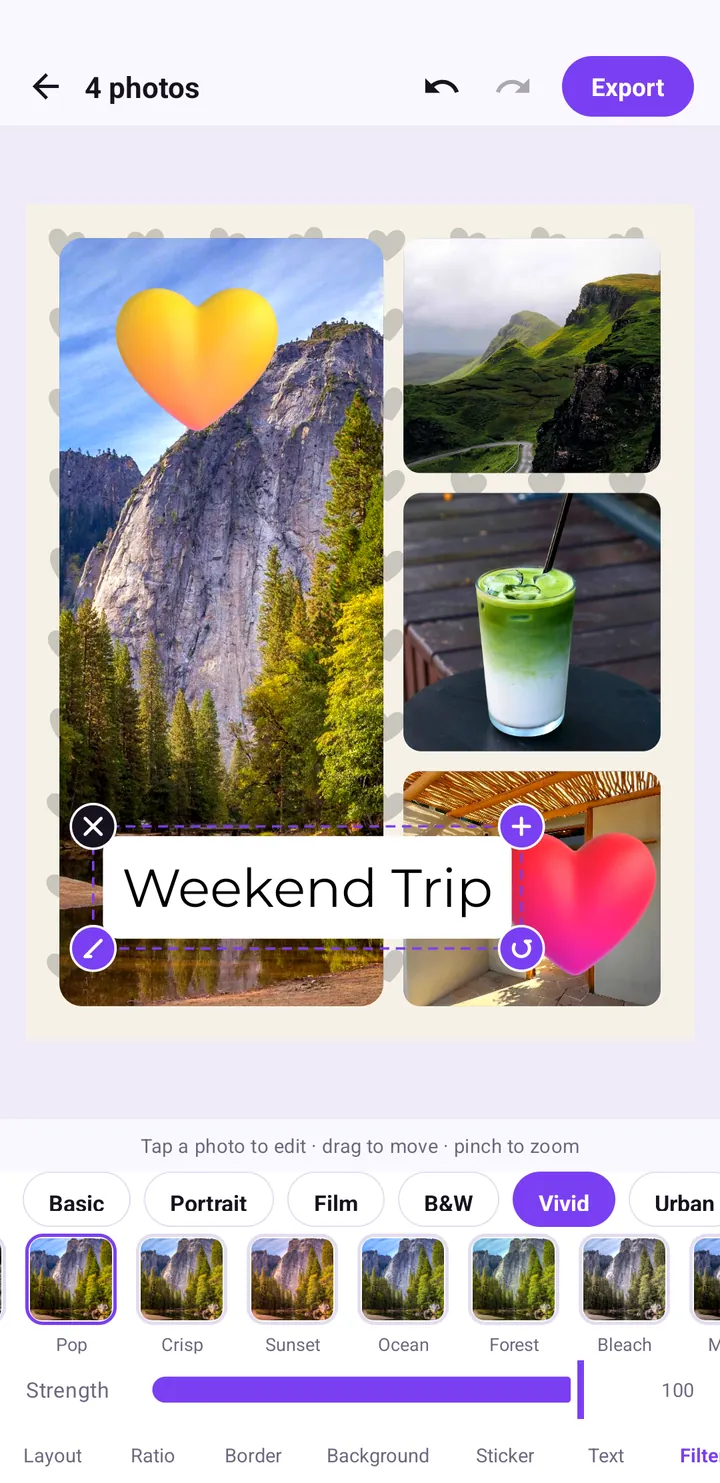
Move
Drag the text anywhere on the collage. Good spots are usually areas of calm colour, such as sky, water or a plain wall, or across the gap between two photos.
Resize
Pinch with two fingers to scale the caption up or down. The poster editor's hint says it directly: "pinch to resize". A headline can be large; a date or location line should be noticeably smaller.
Rotate
The circular-arrow handle in the bottom-right corner rotates the text. In the poster editor you can also "twist to rotate" with two fingers. A small angle gives a playful, scrapbook look; keep it straight for a clean, editorial feel.
Edit or remove
The pencil handle in the bottom-left corner reopens the text editor so you can change the words or the style. The X handle in the top-left corner removes the caption. Undo at the top of the editor reverses any mistake.
Text on posters: editing template titles
Poster templates come with text already placed and styled. In the poster editor, each text element is its own layer, shown as a chip under the canvas, for example 2 · Text for the title and 3 · Text for the subtitle.
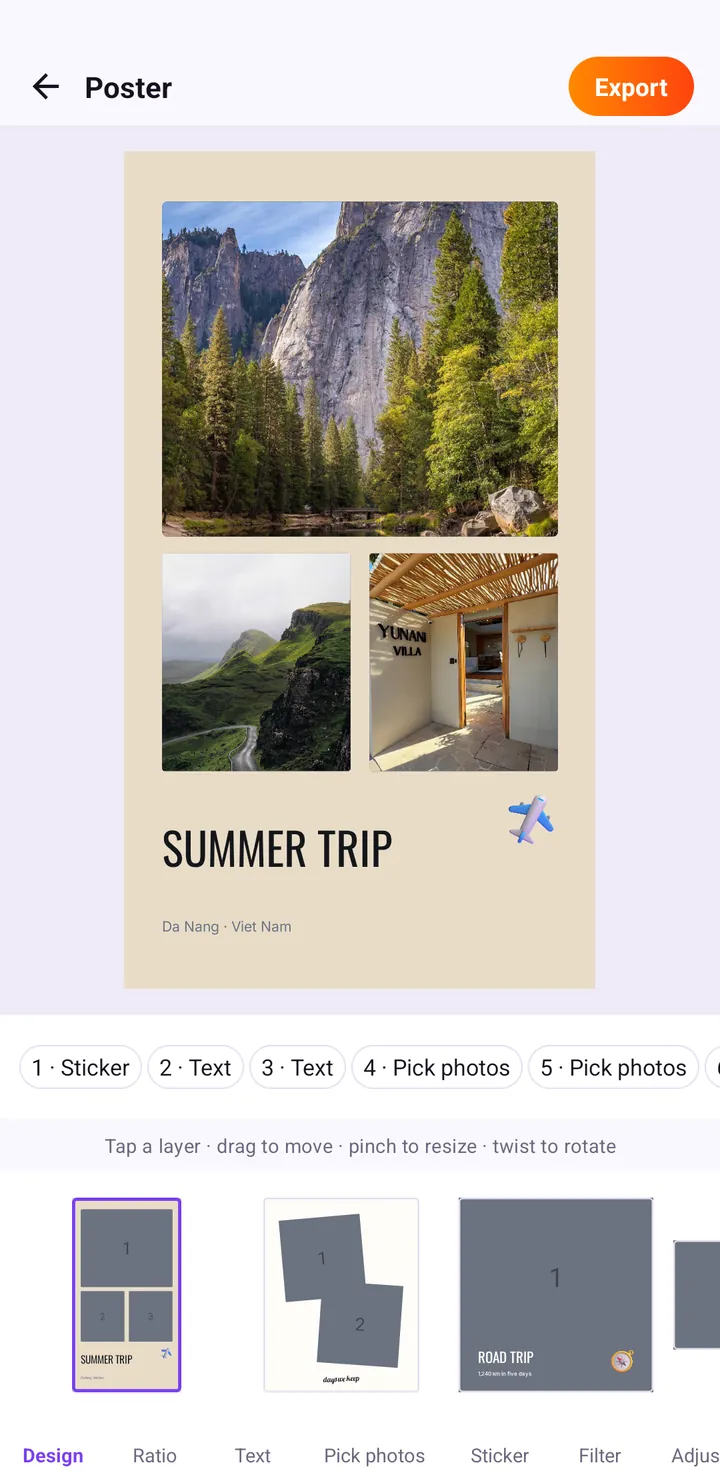
- Tap the text chip, or the text itself, to select it.
- Use the Text tab to change the words, for example replacing "SUMMER TRIP" with your own destination.
- Drag, pinch or twist to adjust its position, size and angle.
Template typography is designed to fit the layout, so short replacements look best. Read how to make a trip poster with templates for the full poster flow.
Typography tips for social posts
Keep it short
The best photo captions are one to five words. "Weekend Trip", "Day 3: Hoi An", "Happy Birthday, Linh". If you need more, split it into a big title and a small subtitle.
Create contrast
Light text needs a dark area behind it, and dark text needs a light area. When the photo is busy, turn on Label, or at least Shadow. Contrast matters more than any font choice.
One font, two sizes
Use a single font and vary only the size: a large headline and a small supporting line. This instantly looks designed.
Respect the edges
Leave some space between text and the edge of the canvas. In Stories, the top and bottom of the screen are covered by the app's own buttons, so keep captions away from those areas. Our Story and feed-ready collage guide explains safe zones in detail.
Do not cover faces
Text over eyes or mouths is the most common mistake. Move the caption to the sky, the floor or a gap.
Work with stickers
A caption plus one sticker is a great pairing, like "Weekend Trip" and a heart. Keep them close but not overlapping the letters. See our stickers guide for placement ideas.
Caption styles to copy
If you are not sure where to start, pick one of these four looks. Each takes a few taps in the Style, Color and Opacity tabs.
| Look | Settings | Good for |
|---|---|---|
| Clean tag | Label on, Shadow on, dark text | Travel collages, busy photos |
| Floating title | Shadow on, white text, no label | Sky or sea backgrounds |
| Bold outline | Outline on, bright colour text | Fun party or friends collages |
| Quiet signature | Small size, lowered Opacity | A name or date in a corner |
Step-by-step: a readable caption in under a minute
- Open your collage and tap Text.
- Type a short caption.
- Tap Style and turn on Label and Shadow.
- Tap Color and pick white or dark text for contrast.
- Tap Done.
- Drag the caption to a calm area, pinch to size it, and rotate slightly if you want a playful feel.
- Tap Export and choose JPEG or PNG.
Common mistakes with text on pictures
- White text on a bright sky. Turn on Shadow or Label, or move it to a darker area.
- Too many words. Long sentences belong in the post's caption, not on the image.
- Several fonts at once. Stick to one.
- Text too close to the edge. It can get cropped by feeds or covered by Story buttons.
- Low opacity on the main caption. Save transparency for small details.
Exporting with text
When you tap Export, your text is rendered into the image at full quality, so it looks the same wherever you share it. Choose JPEG · smaller file for social media or PNG · lossless if the text has fine details you want perfectly sharp.
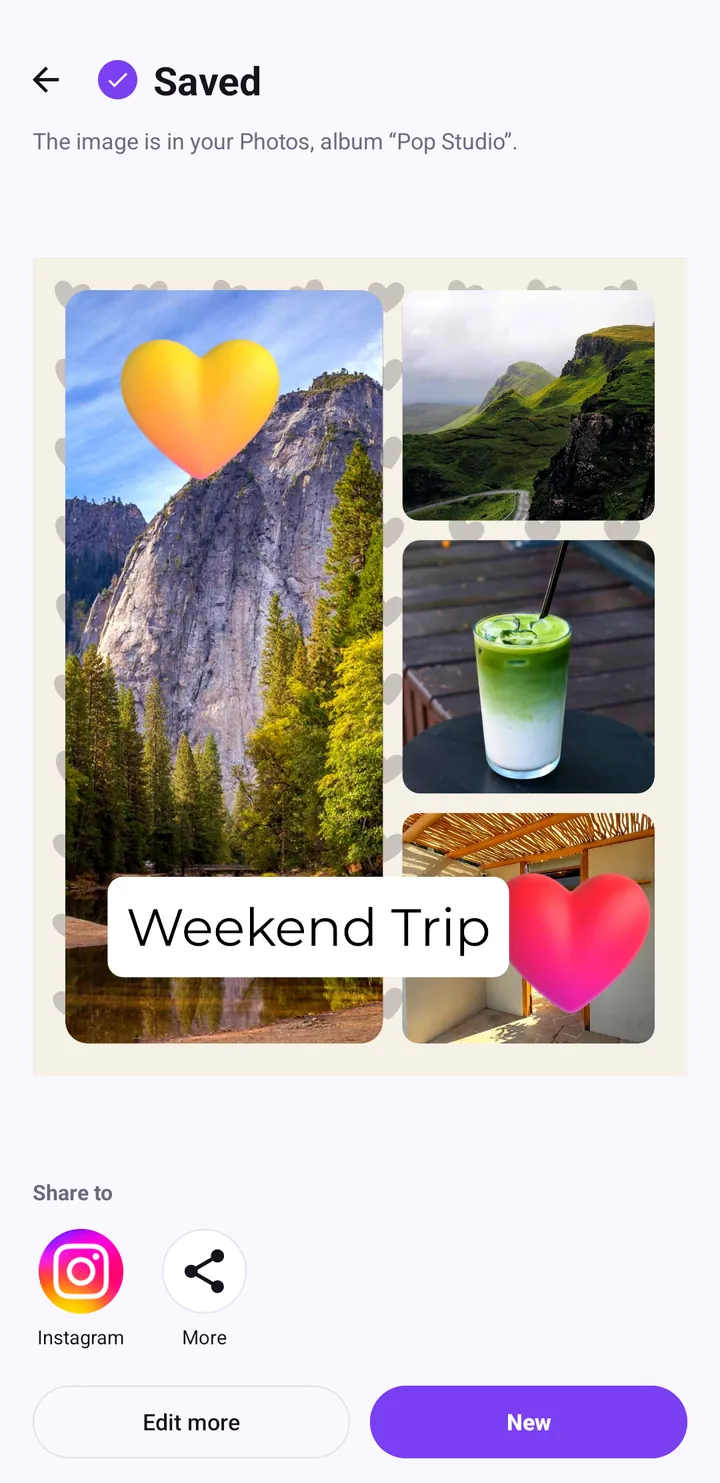
The finished image goes to your Photos, in the "Pop Studio" album, and you can share it from the Saved screen. Everything is done on your phone and nothing is uploaded; see our privacy policy for details.
Wrap-up
Adding text to photos in Pop Studio takes three moves: type it, style it, place it. The Style tab's Outline, Shadow and Label toggles do the heavy lifting for readability, and a few habits do the rest: short words, one font, strong contrast, clear faces, and space from the edges. Try a "Weekend Trip" tag on your next collage, then explore Pop Studio's filters to finish the look.
Frequently asked questions
How do I add text to a photo on Android?
In Pop Studio, open a collage or poster, tap the Text tab, type your words, style them with Font, Color, Style, Align and Opacity, then tap Done and drag the text into place.
How do I make text readable on a busy photo?
Open the Style tab and turn on Label to put the text on a solid box, or Shadow or Outline to separate it from the background. Then place it over a calm area of the photo.
How do I change the size of text on a photo?
Select the text and pinch with two fingers to make it bigger or smaller. Use the circular-arrow handle to rotate it.
Can I edit text after placing it?
Yes. Select the text and tap the pencil handle in its bottom-left corner to reopen the editor. The X handle removes it.
Keep reading
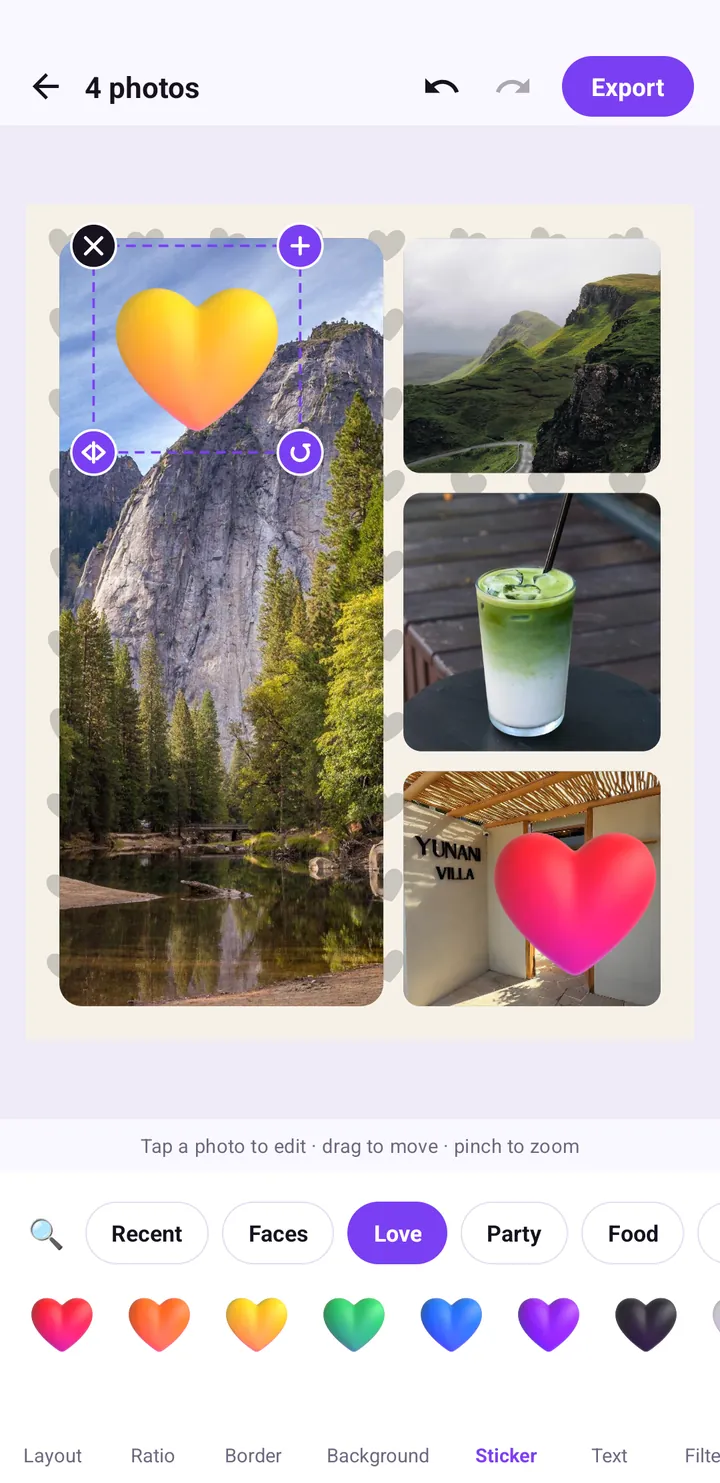
Add Stickers to Photos: Every Category and How to Use Them
Everything about stickers in Pop Studio: what each category holds, how to search, how to move, scale, rotate and remove stickers, and placement tips that avoid clutter.
Read the guide →Poster Templates: Make a Summer Trip Travel Poster Fast
Turn your trip photos into a finished travel poster with Pop Studio's poster templates. We build a SUMMER TRIP poster step by step, then personalise it.
Read the guide →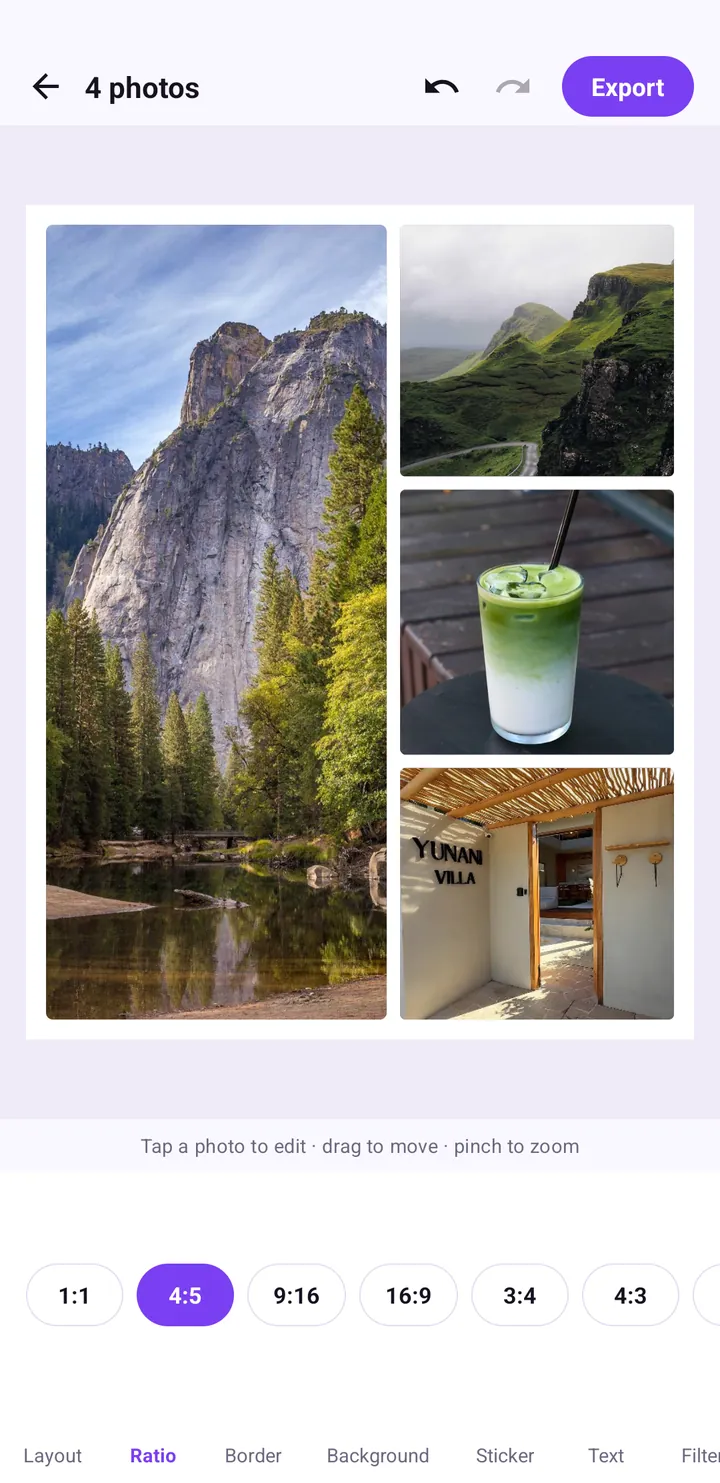
Instagram Story collage guide: 9:16 vs 4:5 vs 1:1 and safe zones
How to make collages that fit Instagram Stories, TikTok and the feed the first time: choosing 9:16, 4:5 or 1:1, keeping text inside the safe zone, and sharing straight from the Saved screen.
Read the guide →12 collage ideas for birthdays, couples, trips, food and friends
Twelve collage ideas for birthdays, couples, trips, food and friends, each with the exact layouts, ratios, stickers and poster templates to use in Pop Studio.
Read the guide →