 Pop Studio
Photo filters explained: Pop, Crisp, Sunset and every category
A tour of the Filter tab: what each category is for, how the Vivid looks like Pop, Crisp, Sunset and Bleach differ, and how to use the Strength slider so a filter looks natural.
A good photo filter does one job: it makes a set of pictures look like they belong together. A bad one does the opposite, turning skin orange, crushing the shadows and making a sunny afternoon look like a warning sign. Most photo filter apps hand you a long strip of thumbnails and leave you to guess which one fits. That is how collages end up with four photos that each look like they came from a different phone.
Pop Studio organises its filters into categories you can actually reason about, and it gives every filter a Strength slider so you are never stuck with all or nothing. In this guide we walk through the Filter tab as it appears in the app today: the categories (Basic, Portrait, Film, B&W, Vivid, Urban), the named filters in the Vivid group such as Pop, Crisp, Sunset, Ocean, Forest and Bleach, and how to pick the best filter for selfies, food, travel and friends.
By the end you will know where the filters live, how to compare them quickly, how much strength to use, and which mistakes make a vivid filter look cheap. Everything here runs on your phone, so you can experiment as much as you like without uploading a single photo.
Where the filters live in Pop Studio
Pop Studio is built around making things to share: collages, posters, stickers and text. Filters are part of that same workflow rather than a separate app screen. When you build a collage, the editing tabs run along the bottom of the screen in this order: Layout, Ratio, Border, Background, Sticker, Text and Filter. The Filter tab is the last one, which is a sensible place for it, because colour is usually the finishing step once the layout is settled.
Posters have their own Filter tab too, next to an Adjust tab for manual sliders. And from the home screen, the Edit card (labelled "Filters & tools") opens a single photo for editing when you do not need a collage at all.
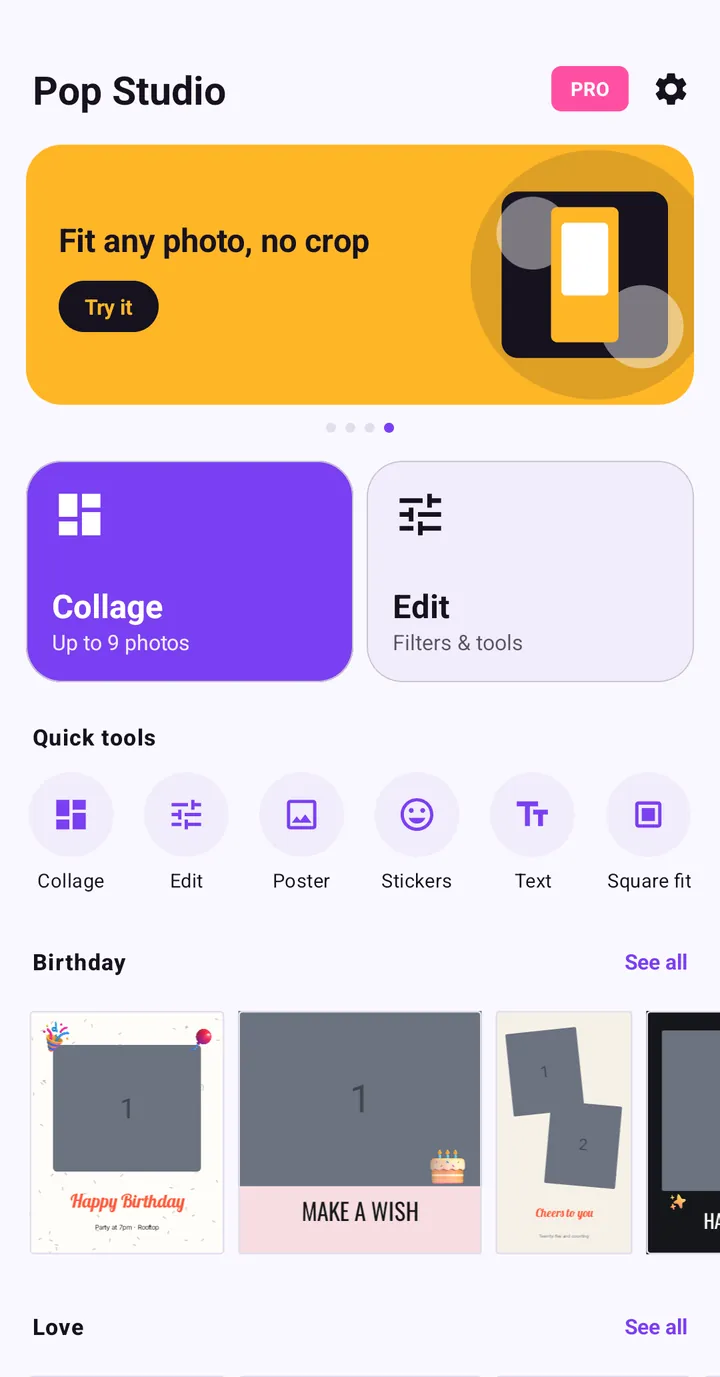
If you are brand new to the app, the beginner guide to Pop Studio covers picking photos and saving your first collage. This post assumes you already have photos on the canvas.
The filter categories at a glance
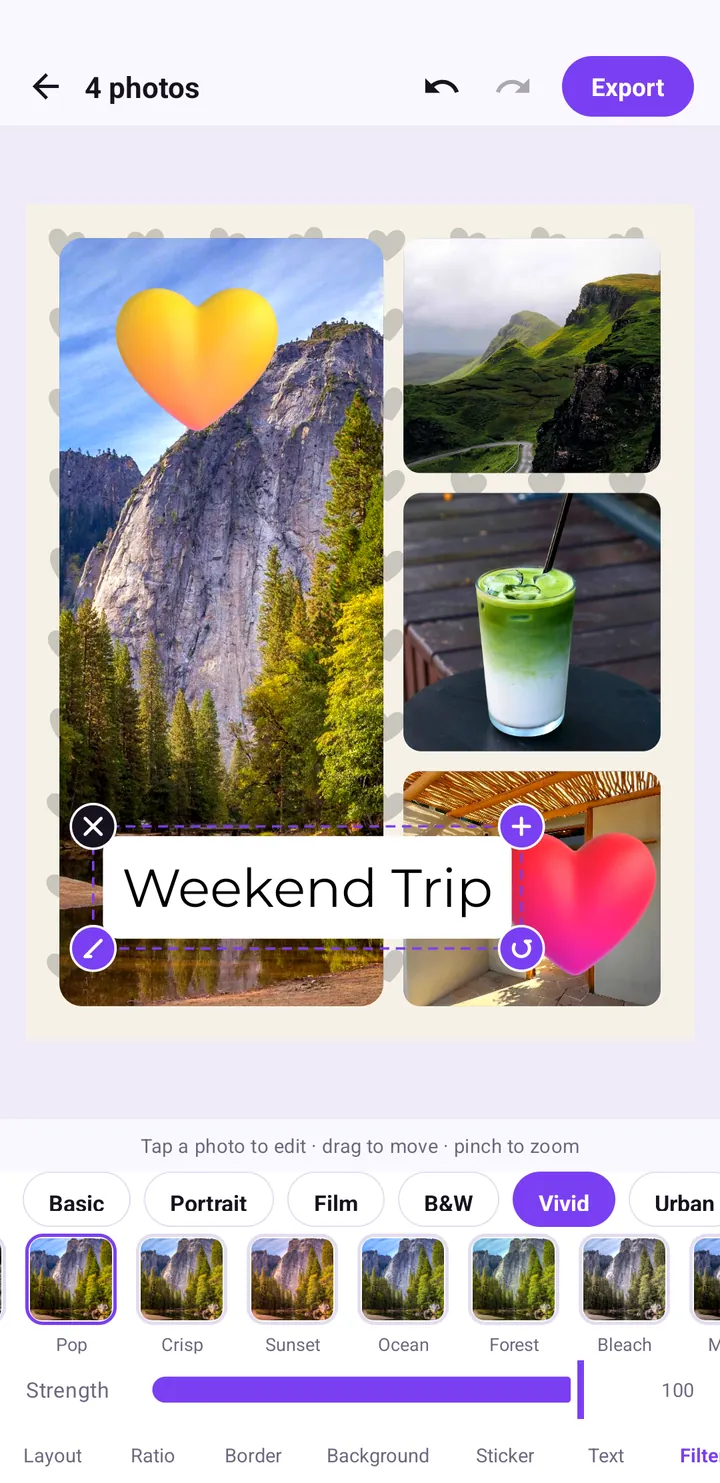
Open the Filter tab and you will see two rows. The top row is a set of category chips; the row below shows thumbnail previews of the filters inside the selected category, each rendered on your own photo. Under that sits the Strength slider.
Basic
The first category is the safe starting point. When you are unsure where to begin, look here first. Basic looks are the kind you can put on almost any photo without it feeling "filtered", which makes them a good choice for mixed collages where the photos came from different cameras and lighting.
Portrait
The Portrait group is the place to look for the best filters for selfies and photos of people. When you test filters on faces, judge them by skin first and background second. If skin turns grey, too pink or too orange, move on, however nice the background looks.
Film
Film is for that analogue, slightly nostalgic feel. It pairs well with travel collages and with poster designs that already have a retro or editorial look.
B&W
Black and white is the quickest way to unify photos that clash. If one picture was taken under yellow indoor light and another under blue daylight, no colour filter will fully match them, but a B&W filter makes the problem disappear.
Vivid
Vivid is the most "Pop Studio" of the groups, and the one in our screenshots. It contains Pop, Crisp, Sunset, Ocean, Forest, Bleach and more if you scroll the row sideways. These are punchy, saturated looks made for bright, playful collages.
Urban
Urban sits after Vivid. The category row scrolls, so swipe left on the chips to see everything available in your version of the app.
The thumbnails show each filter on your own photo, not on a stock sample. That makes comparison much easier: you are judging what the filter does to your picture, not to a perfect demo shot.
The Vivid filters, one by one
Because Vivid is the group most people reach for in a fun collage app, here is how to think about each filter you can see in it. Rather than promising exact colour recipes, we describe what to look for when you try them, because the result always depends on your original photo.
Pop
Pop is the signature look: bold, bright and cheerful. It is a natural fit for party photos, colourful food and summer outfits. In the screenshot above, Pop at full strength makes the green hills, the matcha drink and the yellow heart sticker all feel like part of one bright scene.
Crisp
Crisp is the choice when you want energy without a strong colour cast. Try it on architecture, street shots and product photos where clean edges and clarity matter more than mood.
Sunset
Sunset is the name to try for golden-hour photos, beach days and anything you want to feel warm. Watch faces carefully: warm filters can push skin too far, so lower the strength if people look sunburnt.
Ocean
Ocean suits water, sky and cooler travel photos. It is also a useful counterweight when a set of photos feels too yellow.
Forest
Forest is the one to test on hikes, parks and anything green. With the mountain and hill photos in our sample collage, it is the obvious candidate to compare against Pop.
Bleach
Bleach is the odd one out in a vivid group, and that is the point. Try it when you want a bold look that is less sugary than Pop, for example on street photos or a moody city collage.
How to apply a filter in a collage, step by step
Here is the full flow from the home screen to an exported image. If you have not built a collage before, the guide to making a photo collage on Android covers layouts in more depth.
- On the home screen, tap Collage (up to 9 photos).
- Pick your photos in the Android photo picker and tap Done.
- Choose a grid in the Layout tab and set the shape in Ratio.
- Scroll the bottom tab bar to the end and tap Filter.
- Tap a category chip, for example Vivid.
- Tap a thumbnail such as Pop or Crisp and look at the canvas, not just the thumbnail.
- Drag the Strength slider to dial the effect up or down.
- Use the undo and redo arrows at the top if you want to go back a step.
- Tap Export and choose JPEG · smaller file or PNG · lossless.
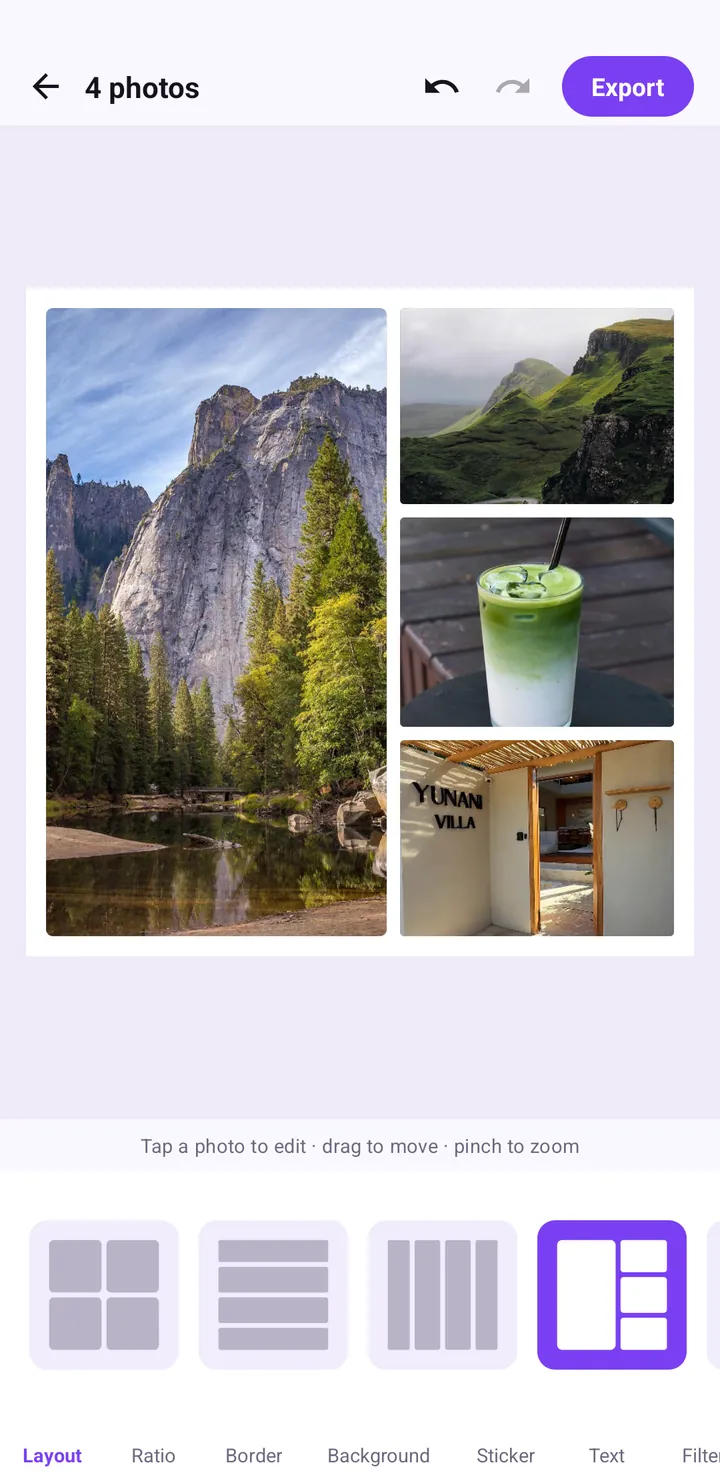
Notice that the "after" shot also has a patterned background, two heart stickers and a "Weekend Trip" label. Filters are one ingredient, and they work best combined with the rest of the tabs. The stickers guide and the guide to adding text to photos cover those parts.
Using the Strength slider well
The Strength slider is the most underused control in any filter app. In Pop Studio it sits right under the filter thumbnails, and in our screenshot it is at 100, the maximum.
Start high, then back off
A good habit is to tap a filter, look at it at full strength so you clearly see its character, and then pull the slider back until the photo looks like a better version of itself rather than a filtered one. For most portraits that is somewhere well below the maximum.
Match strength to the subject
- Food and flat lays: vivid looks can go high, because bright colour makes food look fresh.
- Selfies and portraits: keep it moderate and always check skin.
- Landscapes: higher strength works for skies and foliage, but watch for blown-out highlights.
- Mixed group photos: a lower strength keeps every face natural.
Filters on posters, and the Adjust tab
Posters in Pop Studio are templates such as SUMMER TRIP or ROAD TRIP that you fill with your own photos. The poster editor has its own row of tabs: Design, Ratio, Text, Pick photos, Sticker, Filter and Adjust. The Filter tab works the same way as in a collage.
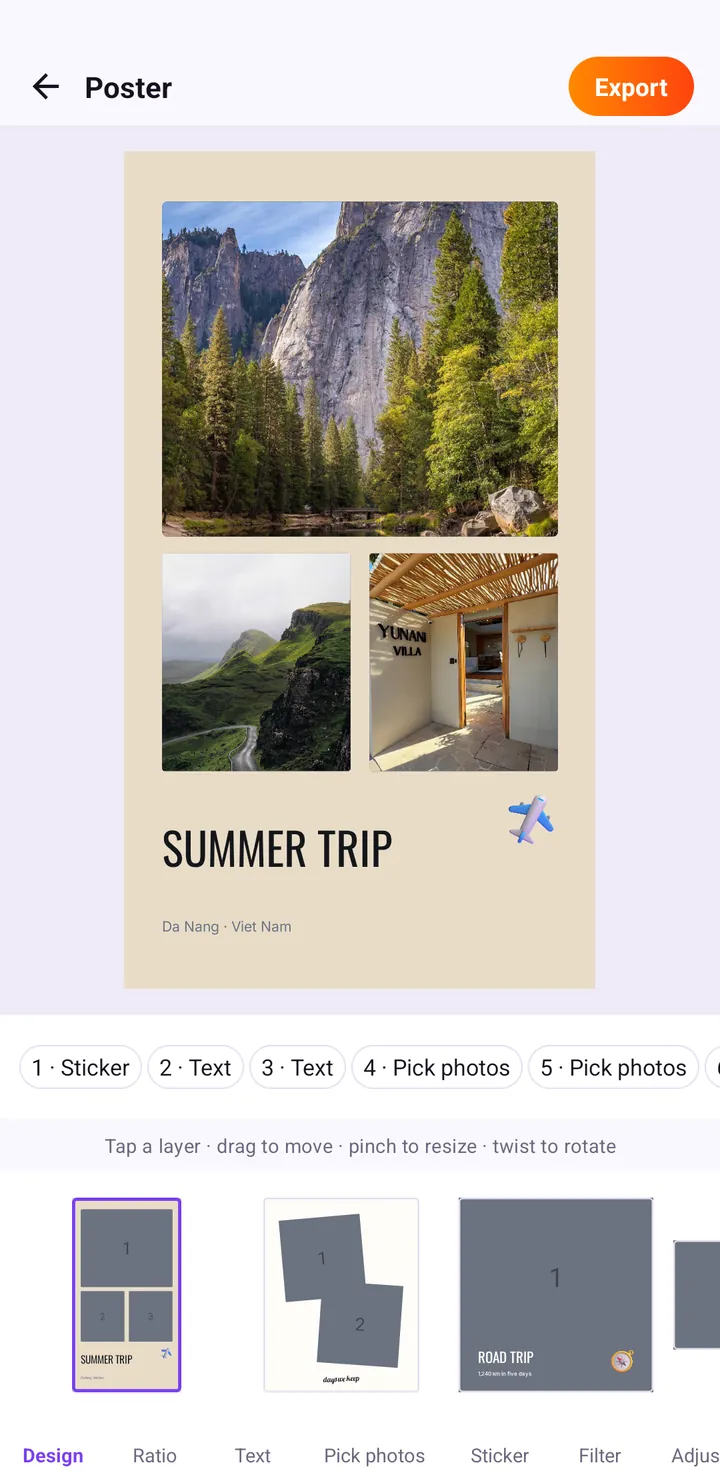
The Adjust tab gives you four manual sliders: Bright, Contrast, Color and Warmth, each with a small reset button (↺). In the example below, Contrast is at 36, Color at 44 and Warmth at 30, while Bright stays at 0.
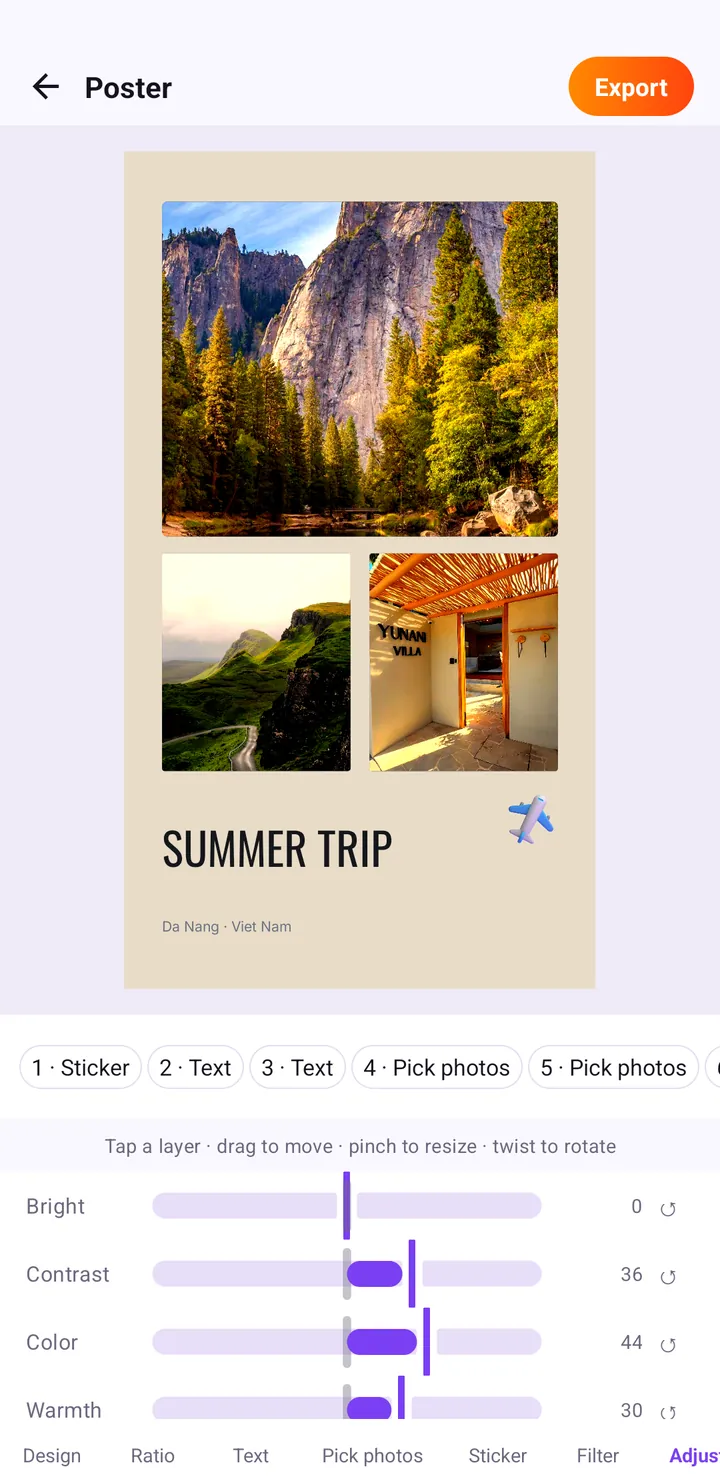
A practical way to use the two together: pick a filter for the overall character, then use Adjust to correct what the filter does not, for example adding a little Warmth for a sunset feel or easing Color back if a vivid look is too loud. For a full poster walkthrough, see how to make a trip poster in two minutes.
Free filters and premium filters
Pop Studio is free with ads, and the free filters are yours to use on every collage and poster. The optional Pro upgrade removes ads and unlocks the premium filters and effects. The Pro screen lists "All premium filters and effects" among its benefits, and offers Weekly, Yearly and Lifetime plans. Prices are shown in Google Play in your local currency before you pay.
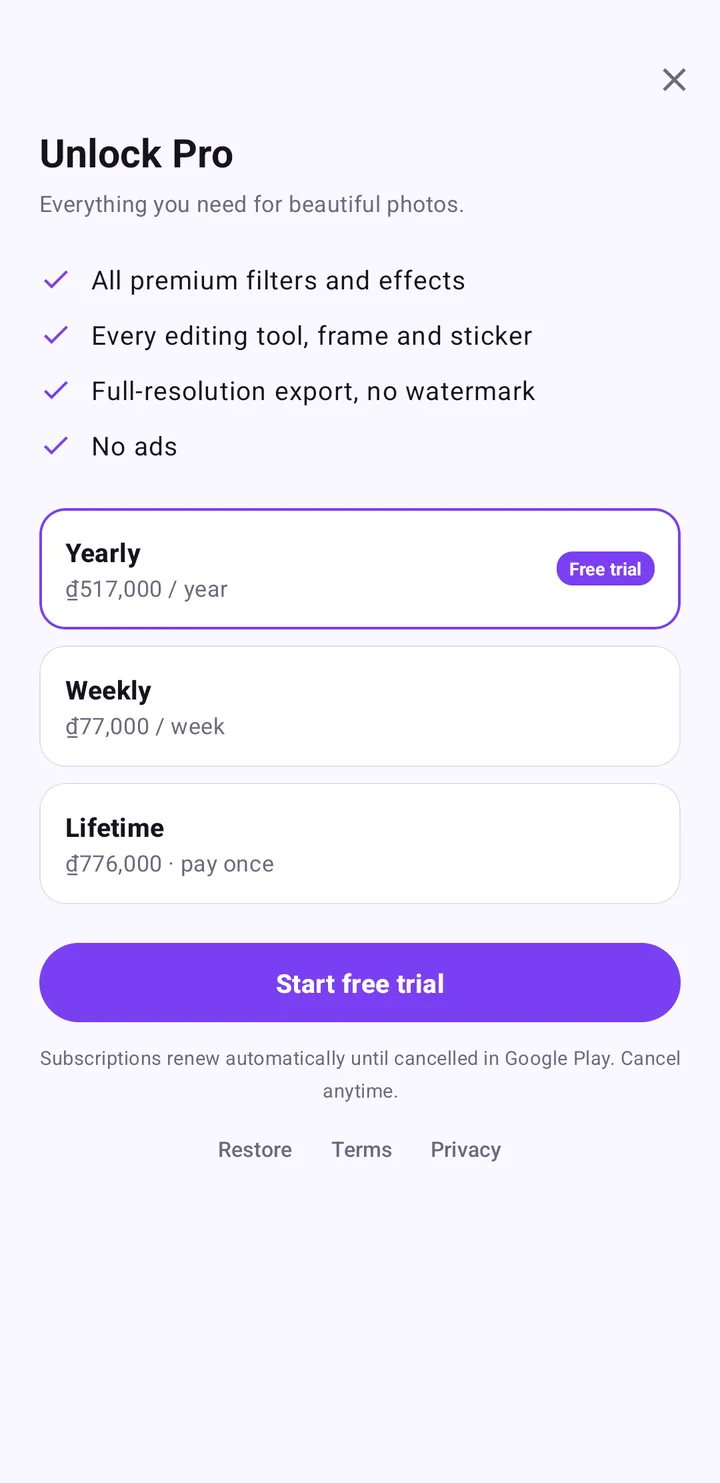
Pro is tied to your Google Play account and restores automatically. If you reinstall, you can also tap Restore purchases in Settings.
Tips and common mistakes
Tips that make filters look intentional
- Pick one filter per collage. One consistent look is what makes a grid of photos read as one story.
- Choose the filter after the layout. A photo that is large in the layout carries the colour of the whole collage, so judge the filter on that one.
- Coordinate with the background. A warm filter with a cream background feels cosy; a cool filter with a warm background can clash.
- Compare two candidates. Tap Pop, look, tap Crisp, look, and go back. Fast A/B switching beats scrolling through every thumbnail.
Common mistakes
- Leaving Strength at 100 on faces. Vivid looks are designed to be bold; on skin, less is more.
- Judging by the thumbnail alone. Thumbnails are small. Look at the full canvas before deciding.
- Filtering to fix a bad photo. A filter changes mood; it will not rescue a blurry or very dark picture. Swap the photo instead.
- Exporting as JPEG for heavy re-editing. If you plan to edit the result again elsewhere, choose PNG · lossless.
Wrap-up
Pop Studio's filters are grouped into clear categories (Basic, Portrait, Film, B&W, Vivid and Urban), and the Vivid group gives you bold, named looks like Pop, Crisp, Sunset, Ocean, Forest and Bleach. Pick a category that matches your subject, compare two or three filters on the actual canvas, then use the Strength slider to land somewhere natural. On posters, the Adjust sliders let you fine-tune what the filter leaves behind.
When you are happy, export as JPEG or PNG and your image goes straight into the Pop Studio album in your Photos. Want to know exactly what happens to your photos? Read our privacy policy, or see how saving and sharing work.
Frequently asked questions
What filter categories does Pop Studio have?
The Filter tab groups looks into categories including Basic, Portrait, Film, B&W, Vivid and Urban. The row scrolls sideways, so swipe it to see everything in your version of the app.
Can I make a filter weaker?
Yes. Every filter has a Strength slider under the thumbnails. Drag it left to soften the effect, which is especially useful on faces.
Which filter is best for selfies?
Start in the Portrait category and judge each filter by how skin looks. Keep Strength moderate so faces stay natural.
Do I need Pro to use filters?
No. Free filters work on every collage and poster. Pro removes ads and unlocks the premium filters and effects.
Are my photos uploaded when I apply a filter?
No. Filters, collages and export all run on your phone, and photos are never uploaded.
Keep reading
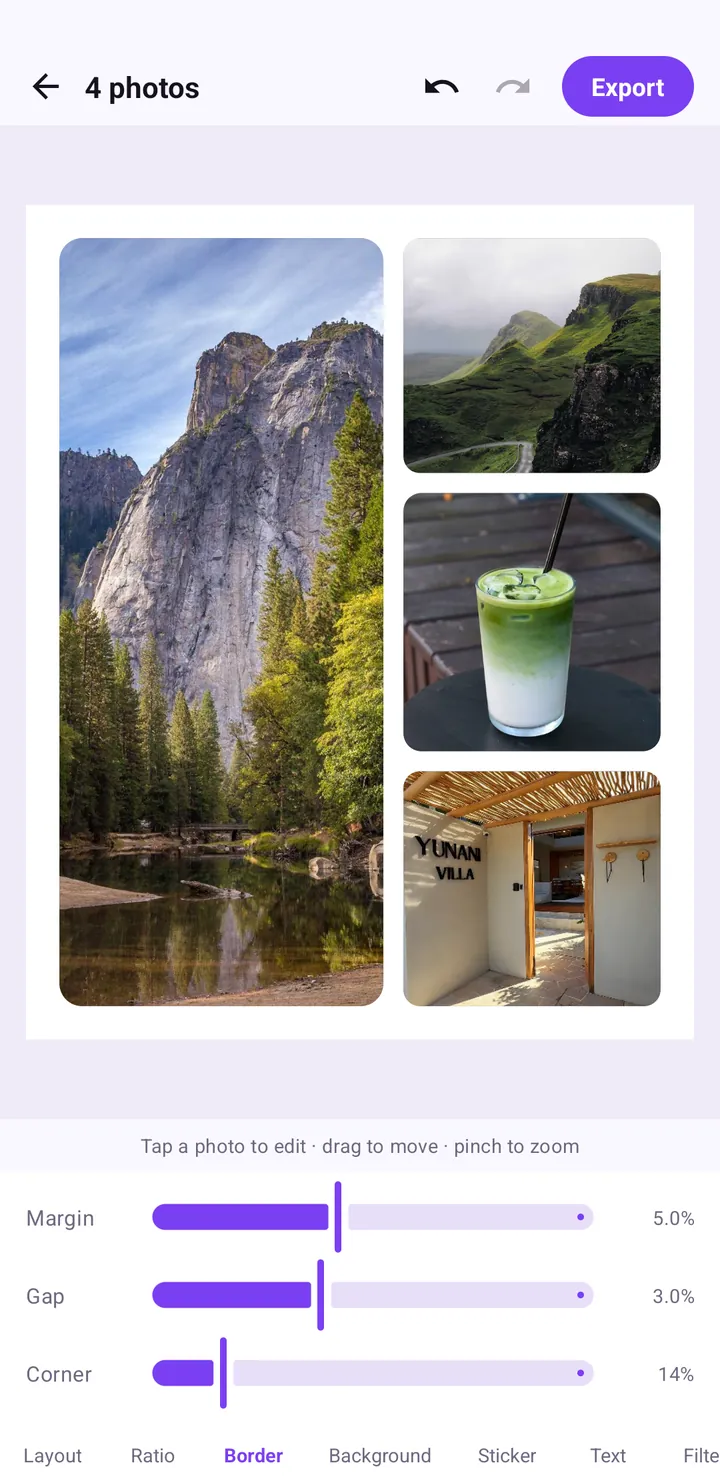
Collage border spacing, ratio and background colour, explained
How the Ratio, Border and Background tabs work: which ratio to choose for feed or Stories, the Margin, Gap and Corner settings that look clean, and how to pick a background.
Read the guide →Poster Templates: Make a Summer Trip Travel Poster Fast
Turn your trip photos into a finished travel poster with Pop Studio's poster templates. We build a SUMMER TRIP poster step by step, then personalise it.
Read the guide →How to Make a Photo Collage on Android: Layouts and Spacing
A step-by-step guide to building a balanced photo collage in Pop Studio: choosing layouts, framing photos in each cell, picking a ratio and getting the spacing right.
Read the guide →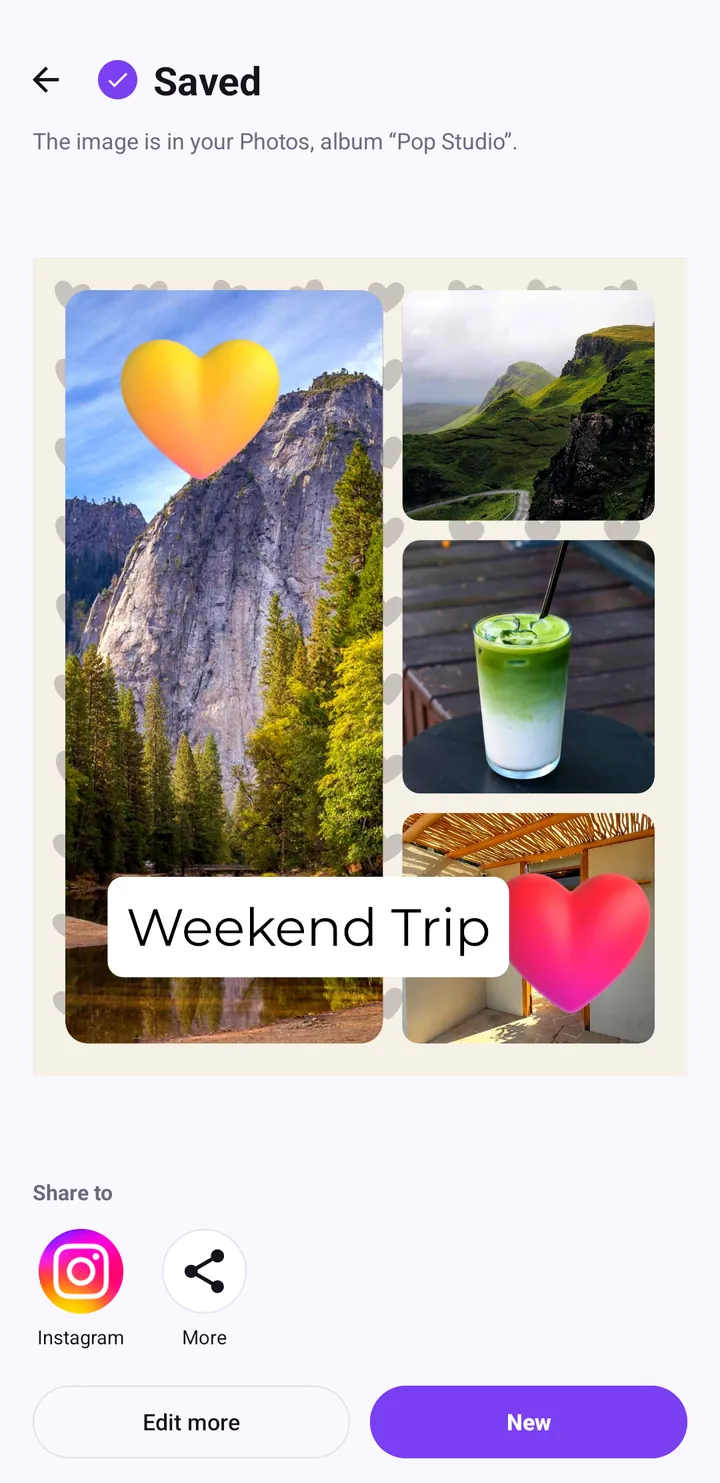
Save a collage to your gallery, share it, and keep photos private
Everything that happens after you tap Export: choosing JPEG or PNG, the Saved screen, sharing to Instagram, TikTok and other apps, finding your work in the Pop Studio album, and why no photo is ever uploaded.
Read the guide →