 Pop Studio
Poster Templates: Make a Summer Trip Travel Poster Fast
Turn your trip photos into a finished travel poster with Pop Studio's poster templates. We build a SUMMER TRIP poster step by step, then personalise it.
You came back from a trip with a phone full of photos, and you want one image that sums it up: the place, the mood, a title. Designing that from a blank canvas takes time and an eye for typography. A poster template app skips the hard part. The layout, title, fonts and decorations are already done; you just bring the photos.
Pop Studio includes a gallery of poster templates grouped by occasion, from birthdays and love notes to food and travel. In this guide we use the SUMMER TRIP travel poster as the example and build a finished travel poster in about two minutes, then look at how to personalise it with your own title, stickers, filters and colour adjustments.
You will learn how to find templates, how many photos each one needs, how the poster editor's layers work, what each editor tab does, and how to export a poster that looks good in a feed, a Story or a printed frame.
Poster or collage: which should you use?
Both start with your photos, but they solve different problems.
| Collage | Poster | |
|---|---|---|
| Starting point | Your photos, then a layout | A finished design, then your photos |
| Photos | Up to 9 | Set by the template, often 1 to 3 |
| Title and decorations | Added by you | Already included |
| Best for | Showing many moments | A single, polished image with a message |
If you want full control over the grid, read how to make a photo collage on Android. If you want a designed result fast, keep reading.
Make a travel poster in seven steps
We use a Travel template as the example, but the same steps work for every category.
Step 1: open the poster template gallery
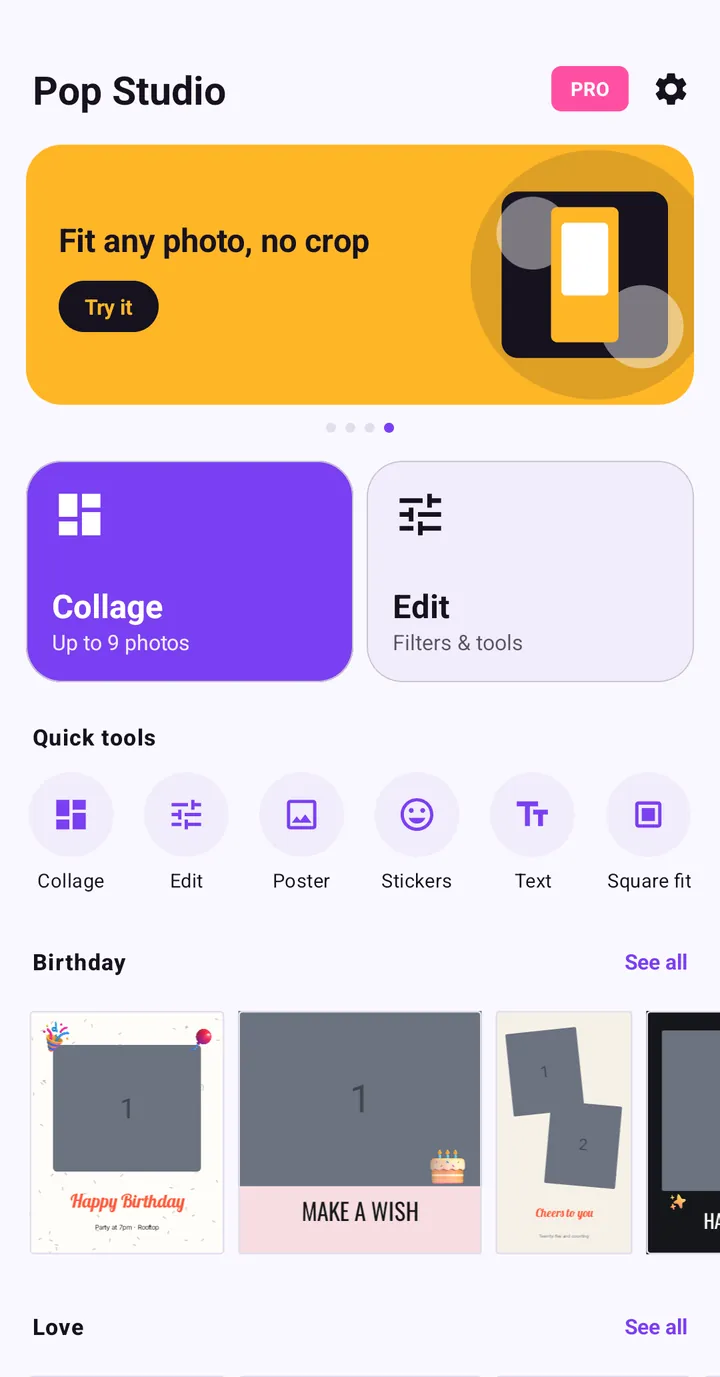
There are three ways in, all from the home screen:
- Tap Poster in the Quick tools row.
- Tap See all next to a template row such as Birthday or Love.
- Tap a template thumbnail directly in one of those rows.
The Poster screen has a row of category chips across the top: Birthday, Love, Friends, Story, Travel, Food and more if you scroll. Tap Travel for trip posters.
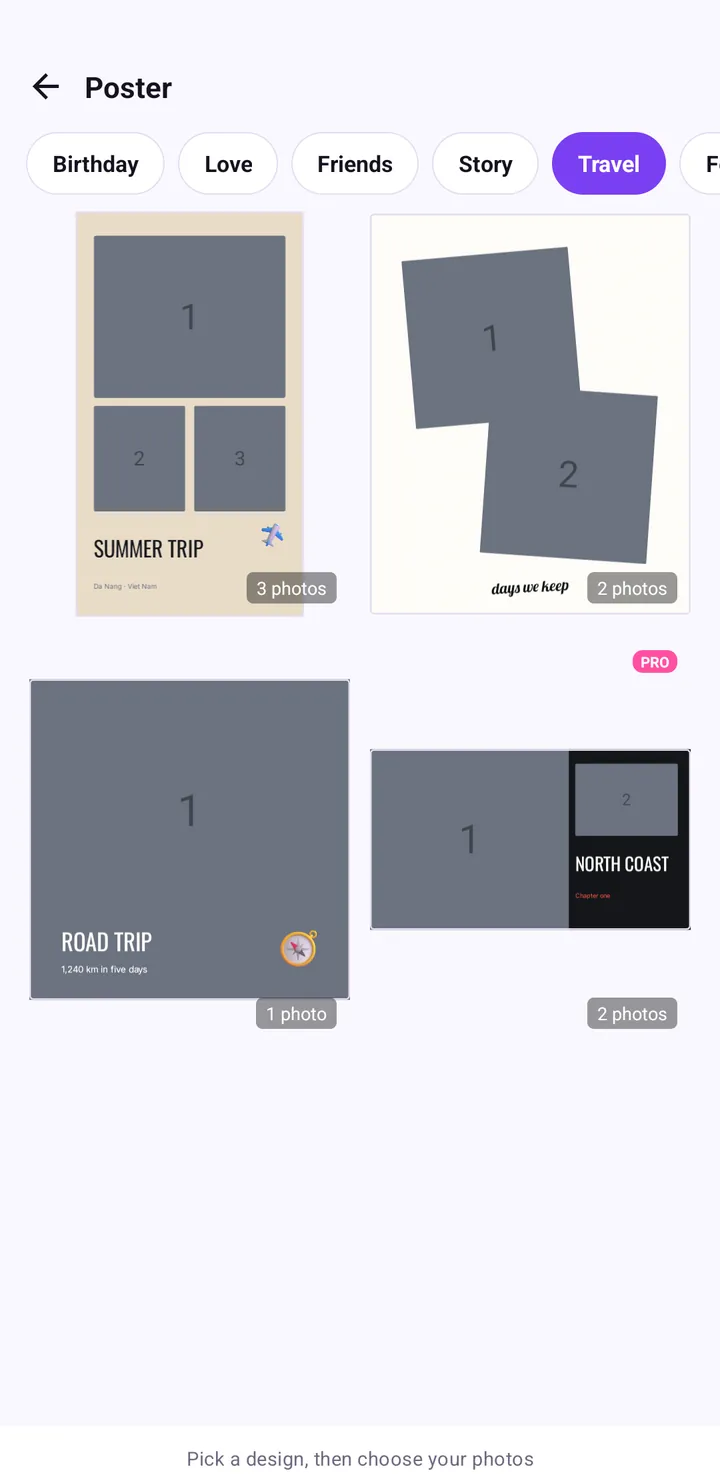
Reading a template card
Each card shows a preview of the design with numbered grey placeholders where your photos will go. A badge in the corner tells you how many photos it needs: 3 photos, 2 photos or 1 photo. Some cards carry a pink PRO badge, which means the design is part of Pop Studio Pro.
The Travel templates
- SUMMER TRIP (3 photos): one large photo on top, two below, a bold title and a small airplane sticker on a warm sand background.
- Polaroid style (2 photos): two tilted prints overlapping, with a handwritten "days we keep" line.
- ROAD TRIP (1 photo): a single full-bleed photo with a title, a "1,240 km in five days" subtitle and a compass sticker.
- NORTH COAST (2 photos, PRO): a wide cinematic layout with a dark side panel and "Chapter one" subtitle.
At the bottom of the screen a hint reminds you of the flow: "Pick a design, then choose your photos".
Step 2: pick a design and add your photos
Tap the SUMMER TRIP card. Pop Studio opens the Android system photo picker so you can choose the photos that fill the design's slots.
- Tap the photos you want, matching the number on the card (three for SUMMER TRIP).
- Tap Done.
- The poster editor opens with your photos already placed in the numbered slots.
Put the widest, most impressive shot first. Slot 1 in SUMMER TRIP is the large one on top, so a landscape works best there, with details or people in slots 2 and 3.
Because photos come through the system picker, Pop Studio never needs access to your full gallery, and the poster is built entirely on your phone.
Step 3: understand the poster editor
The poster editor looks a lot like the collage editor, with one important difference: everything on the poster is a layer you can select and move.
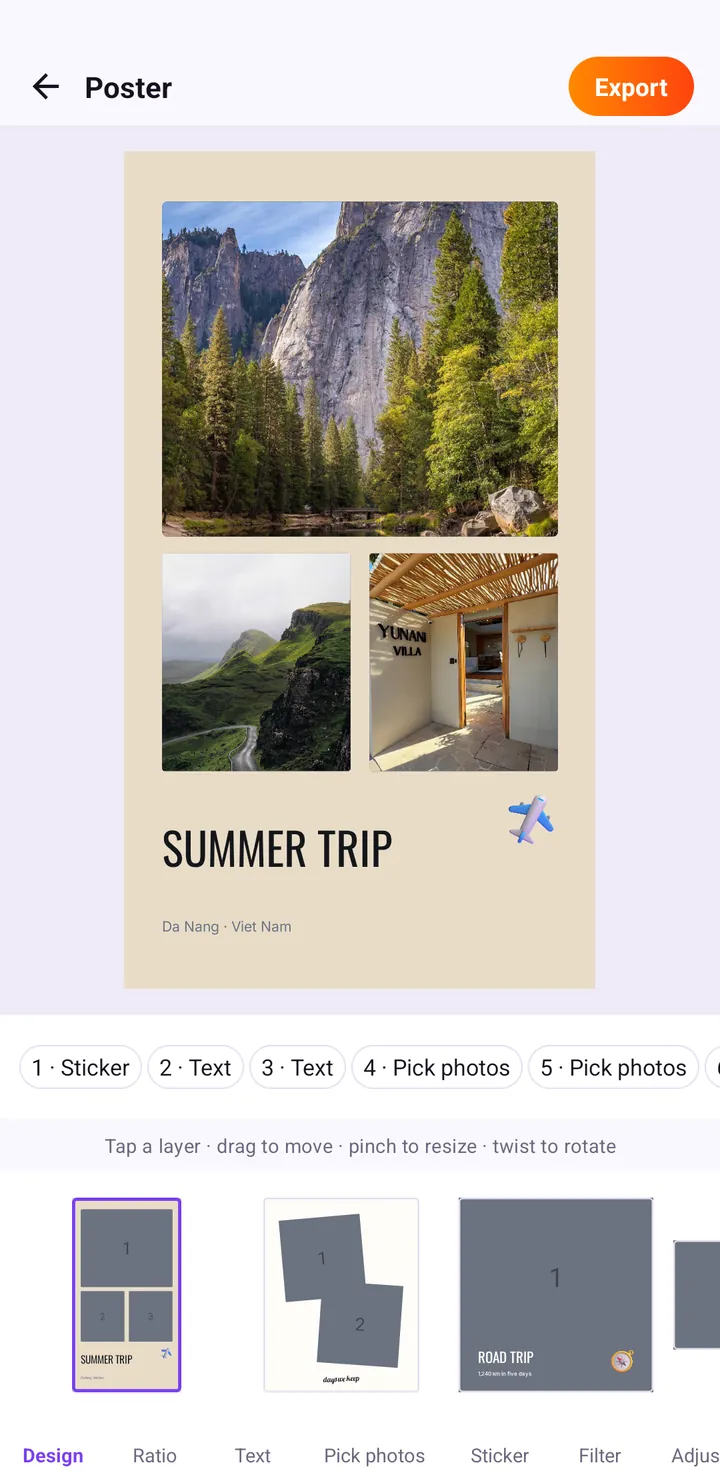
Layer chips
Under the canvas is a row of numbered chips: 1 · Sticker, 2 · Text, 3 · Text, 4 · Pick photos, 5 · Pick photos and so on. Each chip is one element of the design. In SUMMER TRIP, the sticker is the airplane, the two text layers are the "SUMMER TRIP" title and the "Da Nang · Viet Nam" subtitle, and the photo layers are your images.
Tapping a chip selects that layer, which is the easiest way to grab a small element like a subtitle without accidentally moving a photo.
Gestures
The hint under the chips sums up how to work with a selected layer: "Tap a layer · drag to move · pinch to resize · twist to rotate". So you can drag the airplane to another corner, pinch the title to make it larger, or twist a photo for a slightly tilted, scrapbook feel.
Editor tabs
| Tab | Use it to |
|---|---|
| Design | Browse other poster designs from the editor. |
| Ratio | Change the poster's shape. |
| Text | Add or style text. |
| Pick photos | Choose photos for the slots. |
| Sticker | Add stickers on top of the design. |
| Filter | Apply a colour filter. |
| Adjust | Fine-tune Bright, Contrast, Color and Warmth. |
Step 4: make the title your own
The template title is a placeholder. "SUMMER TRIP" and "Da Nang · Viet Nam" look great, but your poster should say where you actually went.
Change the words
Select the title layer (the 2 · Text chip, or tap the title on the canvas) and use the Text tools to change the words, for example to "HOI AN WEEKEND" or "BALI 2026". Do the same for the subtitle layer with the city, dates or a short line like "Three days, zero plans".
Keep the template's typography
The template's font and size were chosen to fit the layout. Short titles of one to three words keep that look intact. If your place name is long, use the subtitle for it and keep the main title short.
For a deeper look at fonts, colour, outline, shadow and label styles, read how to add text to photos.
Step 5: adjust colour so the photos match the poster
Trip photos are often shot at different times of day, so one is cool and blue, another warm and golden. The Adjust tab helps them sit together on the poster's warm background.
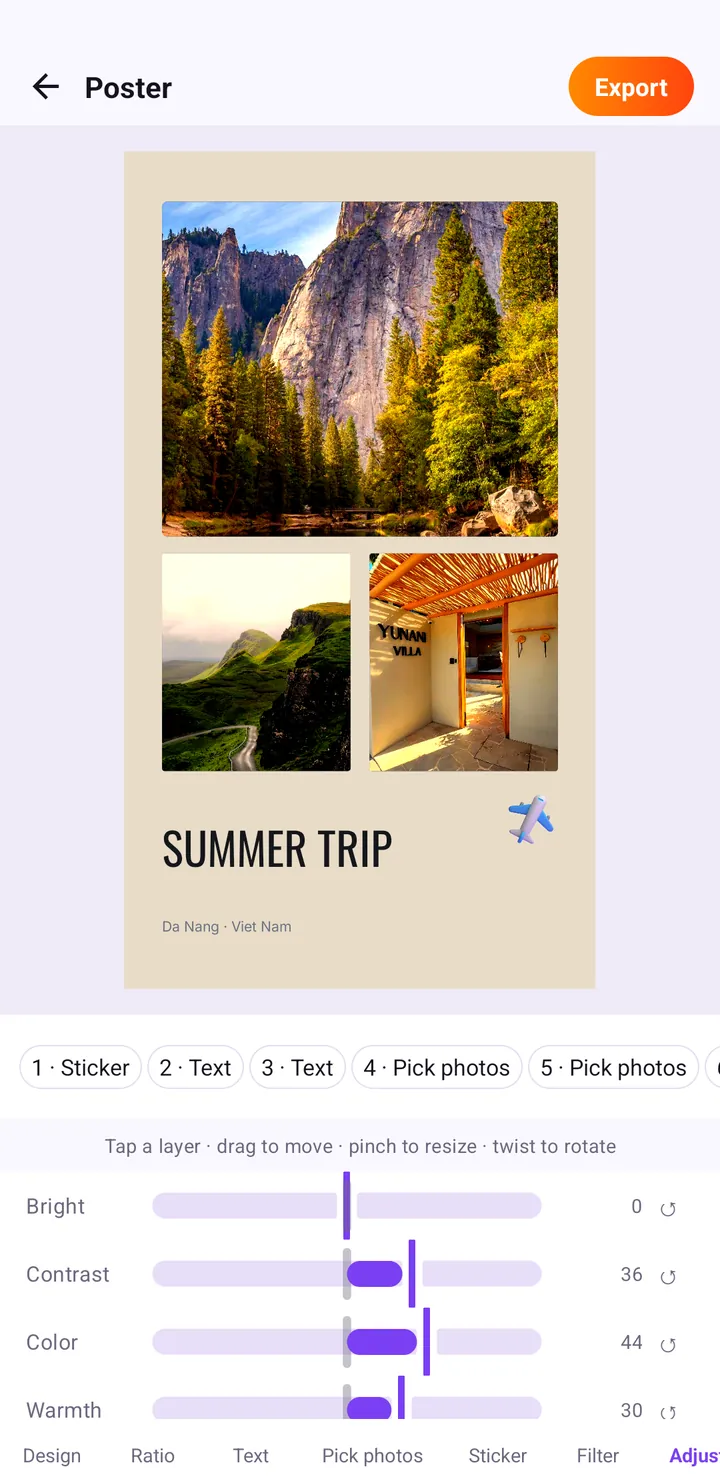
The four sliders
- Bright: overall brightness. Leave at 0 unless the photos are clearly too dark or too light.
- Contrast: separation between light and dark. 36 in our example adds punch.
- Color: colour intensity. 44 makes the greenery and the sky richer.
- Warmth: shifts the tone towards yellow and orange. 30 matches the sand-coloured background.
Each slider has a small reset arrow (↺) next to its value. Tap it to return that slider to zero without touching the others. Compare the two screenshots above: the adjusted poster has a warmer, sunnier feel that suits a summer title.
Or start with a filter
If you prefer a one-tap look, try the Filter tab first, then fine-tune with Adjust. The filters guide explains each filter category.
Step 6: add a sticker or two
The template already includes an airplane sticker. You can move it with a drag, resize it with a pinch, or add more from the Sticker tab, for example a sticker from the Food pack for a memorable meal. Keep it to one or two extras so the design stays clean. Our stickers guide covers every category.
Step 7: export your poster
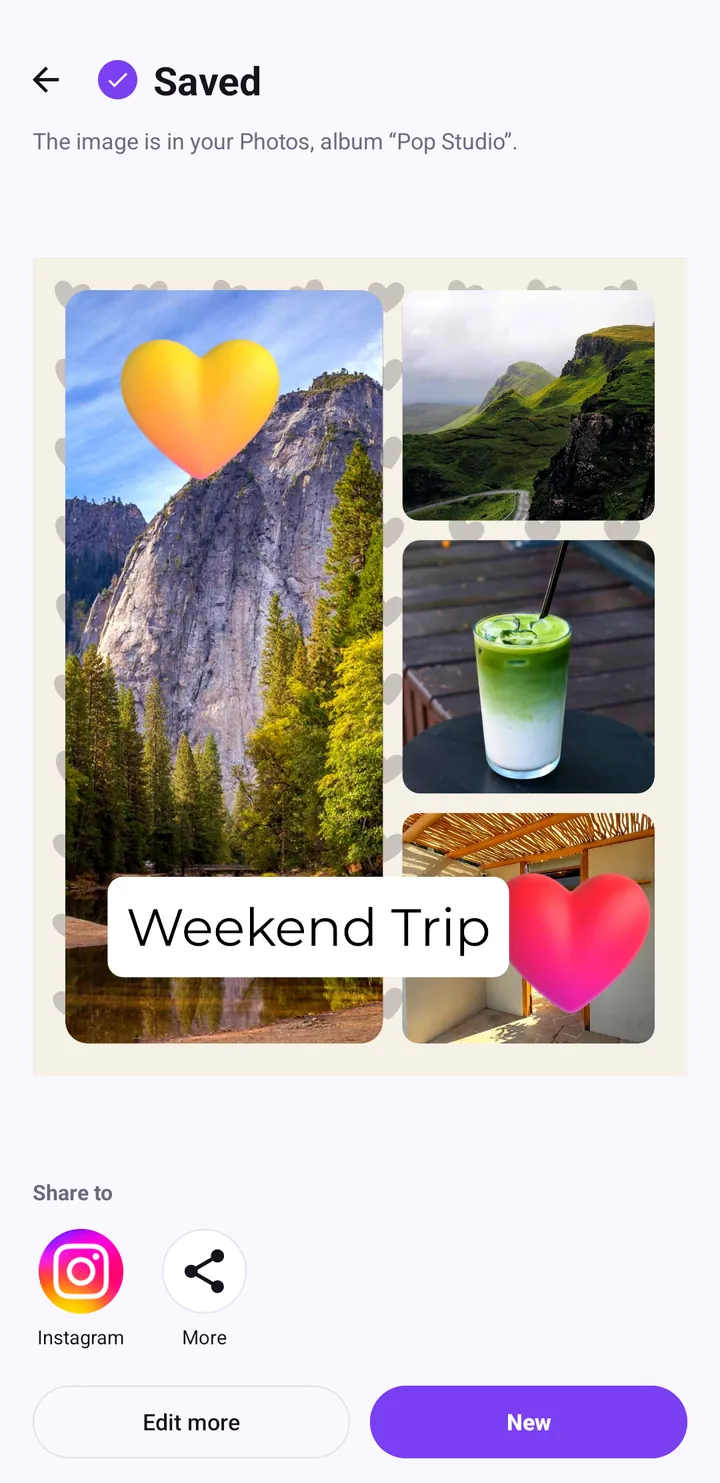
Tap the orange Export button in the top-right corner. Choose JPEG · smaller file for sharing or PNG · lossless if you plan to print. The poster is saved to your Photos in the "Pop Studio" album, and the Saved screen lets you share it to Instagram or any app via More.
The two-minute travel poster, step by step
- On the home screen, tap Poster in Quick tools.
- Tap the Travel category chip.
- Tap SUMMER TRIP (3 photos).
- In the photo picker, select three photos with the best landscape first, then tap Done.
- Tap the 2 · Text chip and change the title to your destination.
- Tap the 3 · Text chip and update the subtitle.
- Open Adjust and raise Contrast, Color and Warmth slightly.
- Tap Export, choose a format, and share from the Saved screen.
Poster ideas beyond travel
The same steps work in every category. A few ideas to try:
- Birthday: designs like "Happy Birthday" and "MAKE A WISH" with cake and confetti stickers. Add the date and the person's name.
- Love: an anniversary poster with two photos and a short line.
- Friends: a reunion or graduation poster for a group chat.
- Story: tall designs for full-screen sharing.
- Food: a menu-style poster for a home-cooked dinner or a café visit.
Our collage ideas for birthdays, trips and couples has more inspiration you can adapt to posters.
Tips and common mistakes
Tips
- Match photo count to the template. The badge tells you exactly how many photos to pick.
- Use the chips for small layers. Selecting the subtitle by chip is easier than tapping a thin line of text.
- Adjust after the photos are in. Colour decisions depend on the actual photos, not the grey placeholders.
Mistakes to avoid
- Leaving the template text. A poster that says "Da Nang · Viet Nam" when you went to Phu Quoc gives it away.
- Overloading with stickers. The template is already balanced; one more sticker is usually enough.
- Pushing Color too far. Skin tones turn orange fast. If people are in your photos, keep Color and Warmth moderate.
About PRO templates
Designs with a PRO badge, like NORTH COAST, are part of Pop Studio Pro. Pro is optional, comes as Weekly, Yearly or Lifetime with prices shown in Google Play, removes ads and unlocks premium designs and stickers. It is tied to your Google Play account, so it restores automatically on a new phone. If you have questions about a purchase, our support page can help.
Wrap-up
Poster templates turn a set of trip photos into a finished, titled design in a couple of minutes. Pick a category, choose a design with the right photo count, add your photos, change the words, warm up the colours and export. Once you have done it once with SUMMER TRIP, every other category works the same way. If you are new to the app, start with the Pop Studio beginner guide.
Frequently asked questions
How do I make a travel poster on my phone?
In Pop Studio, tap Poster in Quick tools, choose the Travel category, tap a design such as SUMMER TRIP, select the photos it asks for and tap Done. Then edit the text and tap Export.
How many photos does a poster template need?
Each template card shows a badge such as 1 photo, 2 photos or 3 photos. Pick exactly that many in the photo picker.
Can I change the text on a poster template?
Yes. Select the text layer with its chip, for example 2 · Text, or tap it on the canvas, and use the Text tools to change the words.
What does the PRO badge on a poster mean?
Designs marked PRO, like NORTH COAST, are part of the optional Pop Studio Pro upgrade, which also removes ads. Prices are shown in Google Play.
How do I make the photos match the poster colours?
Open the Adjust tab and tune Bright, Contrast, Color and Warmth. Each slider has a reset arrow if you want to start over.
Keep reading
Add Text to Photos on Android: Fonts, Styles and Placement
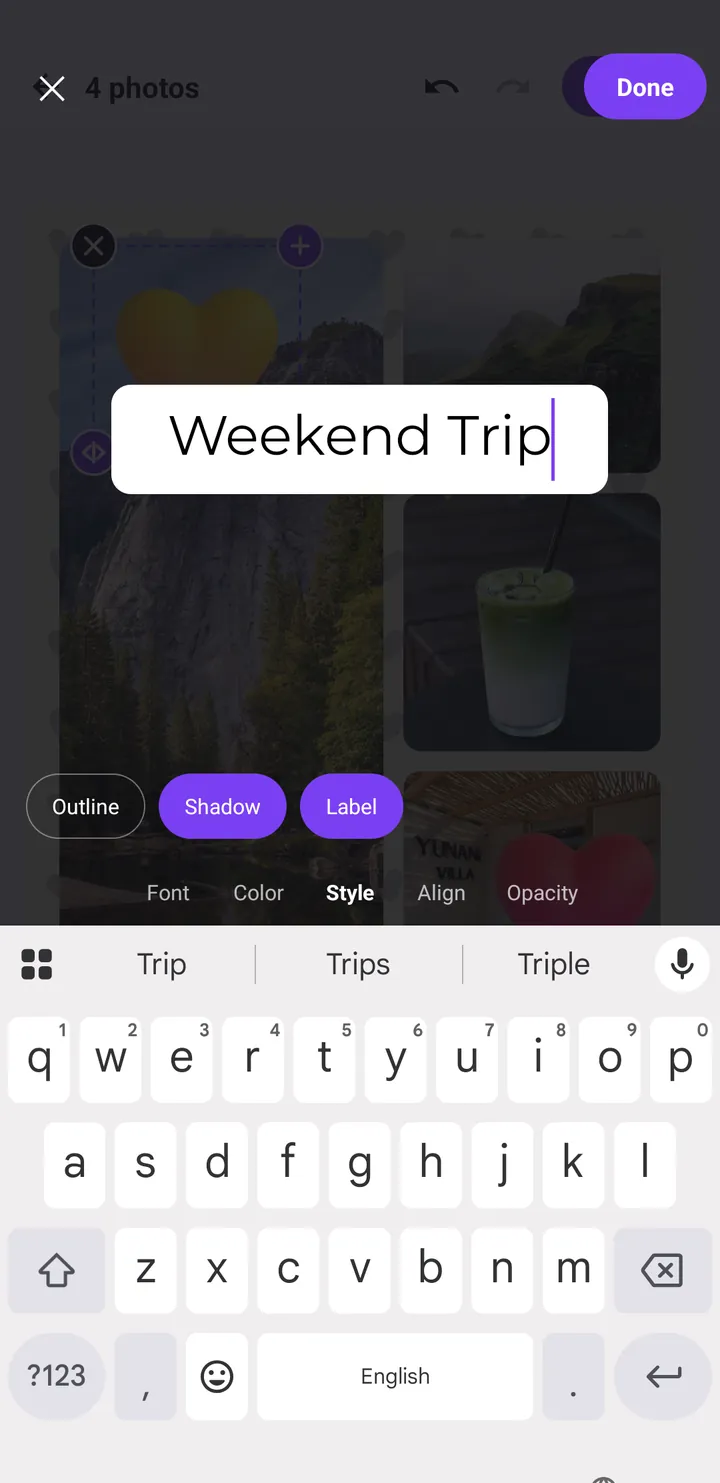
How to put a clean, readable caption on any collage or poster in Pop Studio, from the Font, Color, Style, Align and Opacity options to placement and typography tips.
Read the guide →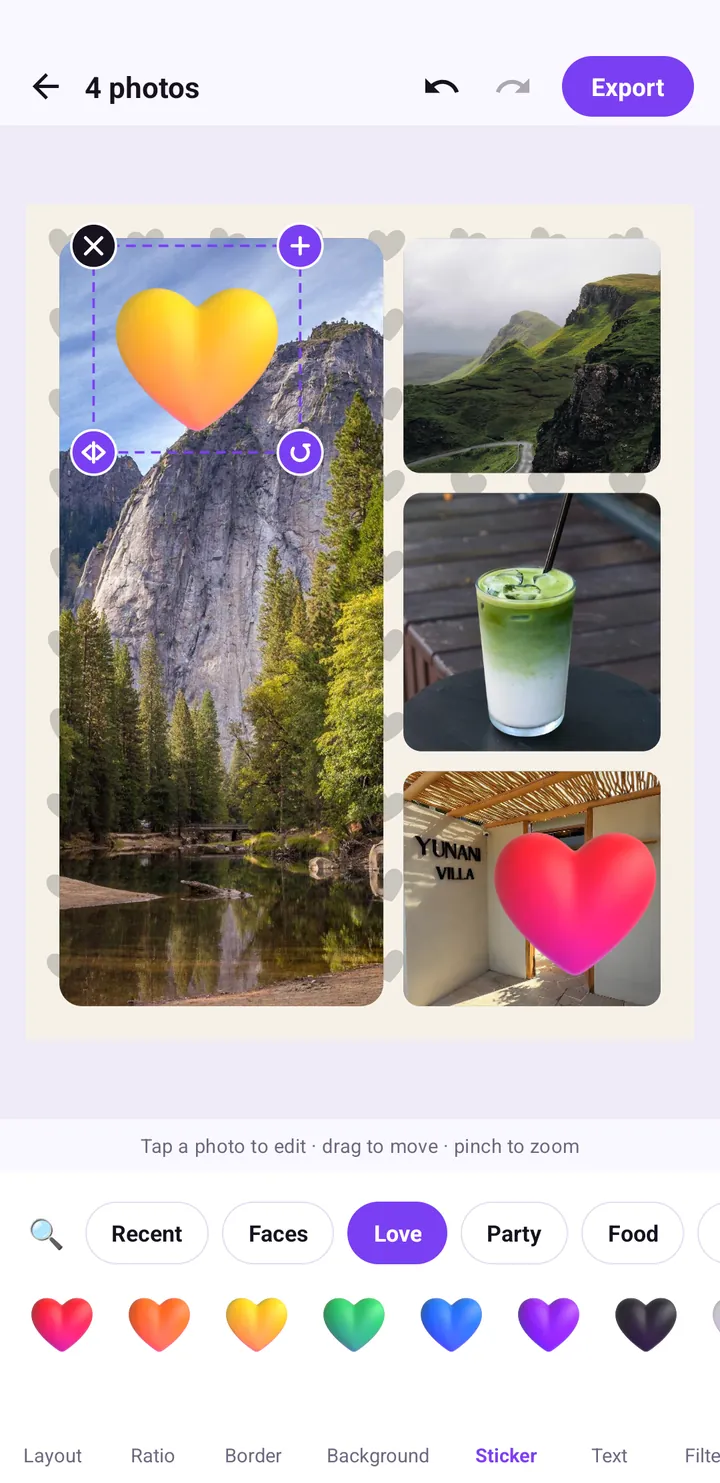
Add Stickers to Photos: Every Category and How to Use Them
Everything about stickers in Pop Studio: what each category holds, how to search, how to move, scale, rotate and remove stickers, and placement tips that avoid clutter.
Read the guide →12 collage ideas for birthdays, couples, trips, food and friends
Twelve collage ideas for birthdays, couples, trips, food and friends, each with the exact layouts, ratios, stickers and poster templates to use in Pop Studio.
Read the guide →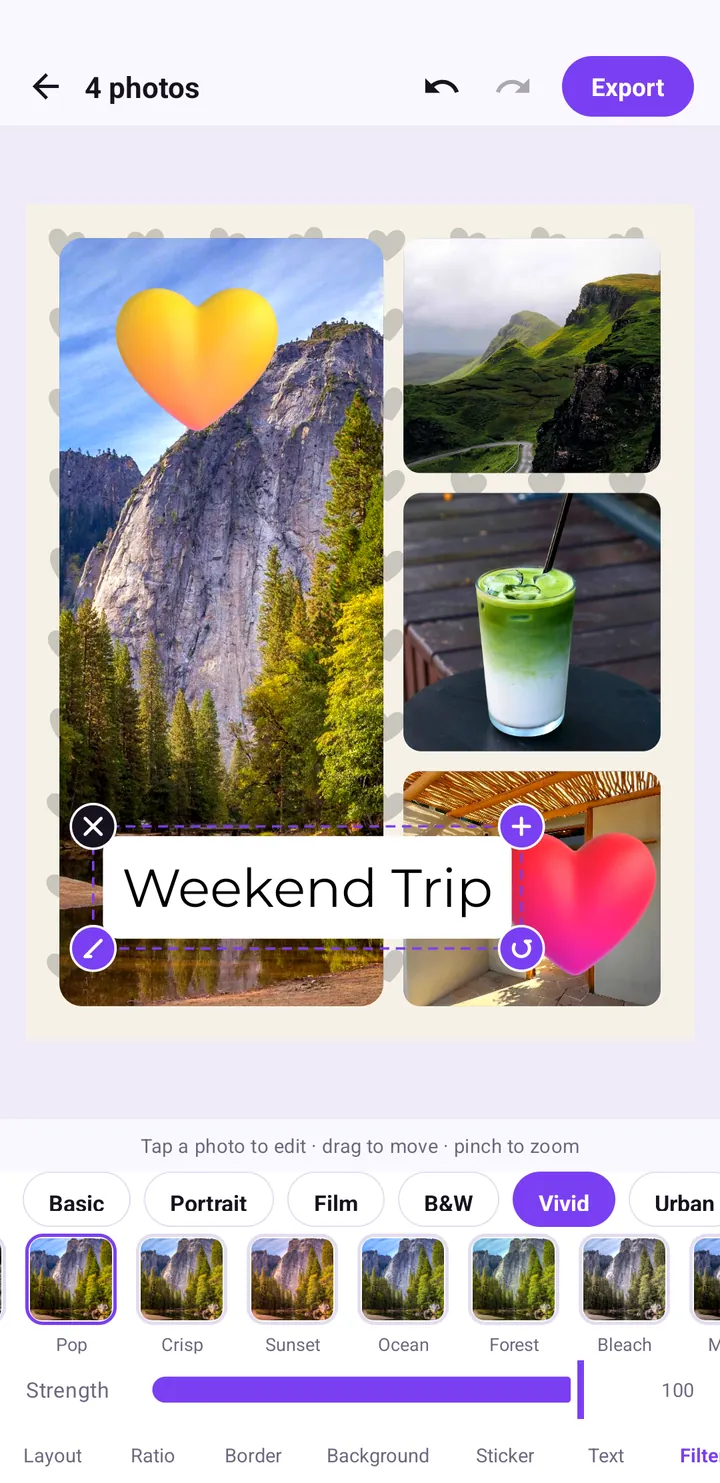
Photo filters explained: Pop, Crisp, Sunset and every category
A tour of the Filter tab: what each category is for, how the Vivid looks like Pop, Crisp, Sunset and Bleach differ, and how to use the Strength slider so a filter looks natural.
Read the guide →