 Pop Studio
Add Stickers to Photos: Every Category and How to Use Them
Everything about stickers in Pop Studio: what each category holds, how to search, how to move, scale, rotate and remove stickers, and placement tips that avoid clutter.
A sticker is the fastest way to give a photo personality. One glossy heart on a couple photo, a party popper on a birthday collage, a little plate of food on a café shot: it takes a second, and suddenly the image has a mood. The catch is that stickers are also the fastest way to make a photo look cluttered if you overdo them or place them carelessly.
This guide covers everything about stickers in Pop Studio, a photo stickers app for Android: where to find them, what each sticker category contains, how to search, how to move, scale and rotate a sticker once it is on your photo, and how to remove one you no longer want. We also share placement tips that keep your collages and posters looking intentional.
If you only want the quick answer to "how do I add stickers to photos?", it is this: open the Sticker tab, choose a category, tap a sticker. The rest of the article helps you do it well.
Where stickers live in Pop Studio
Stickers are available wherever you create. You can reach them in three places:
- Collage editor: the Sticker tab in the bottom bar, between Background and Text.
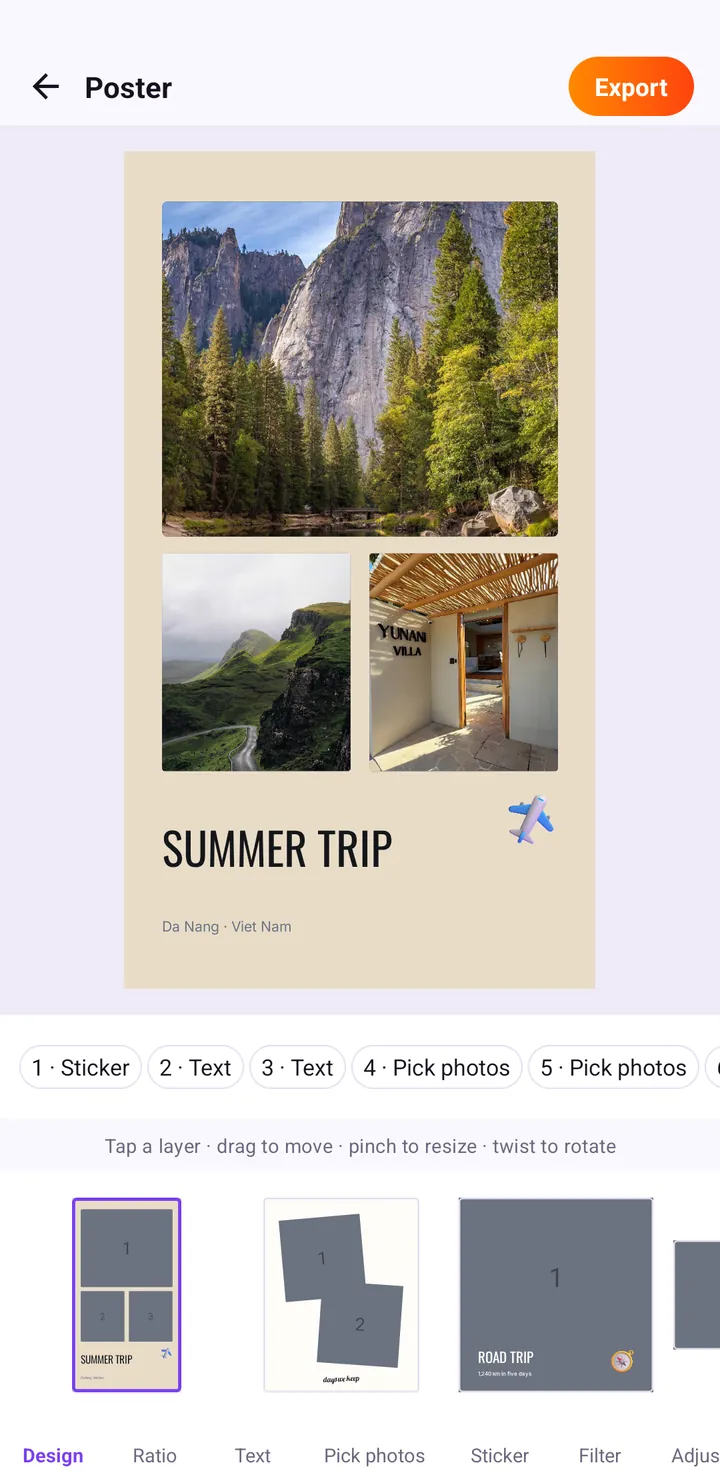
- Poster editor: the Sticker tab, next to Pick photos and Filter. Many poster templates already include a sticker layer.
- Home screen: the Stickers shortcut in the Quick tools row.
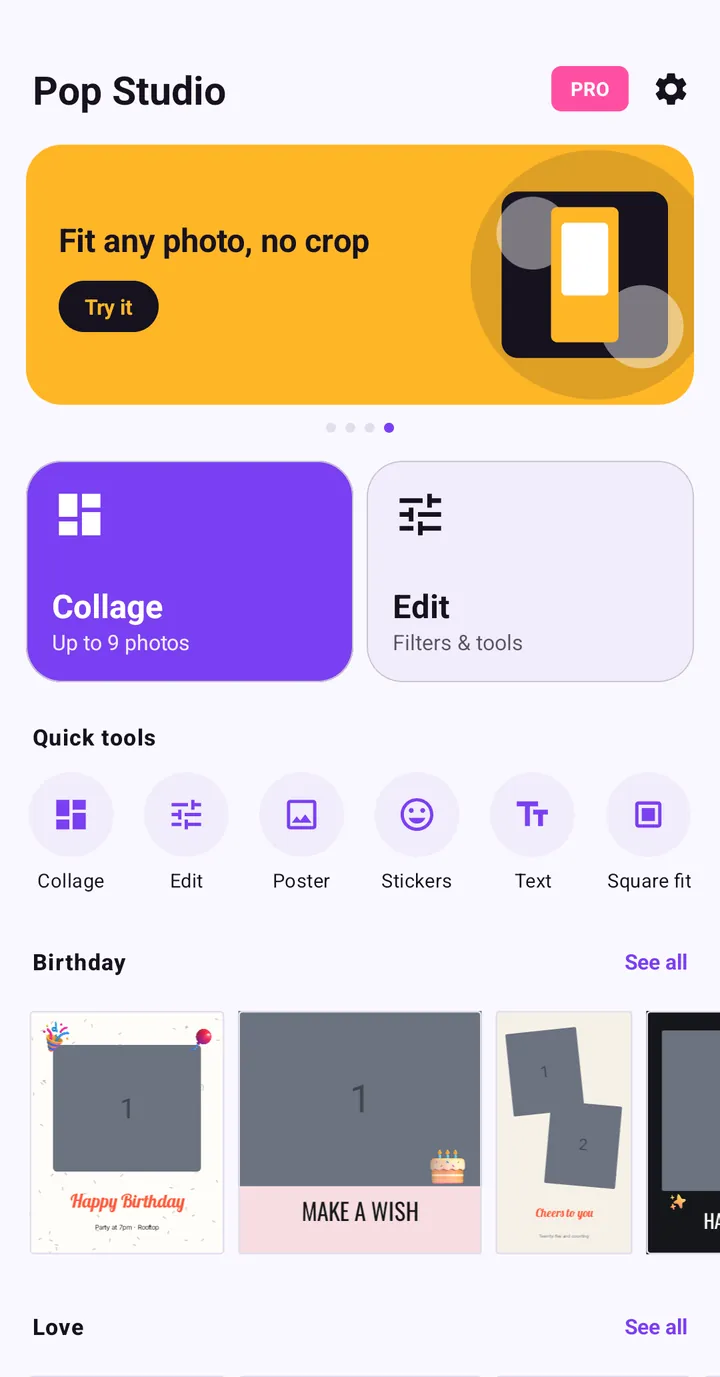
In this guide we use the collage editor, because that is where most people add stickers. Everything works the same way on a poster.
A tour of the sticker panel
Open a collage, then tap Sticker. The panel below the canvas has two rows: a row of category chips, and the stickers in the selected category.
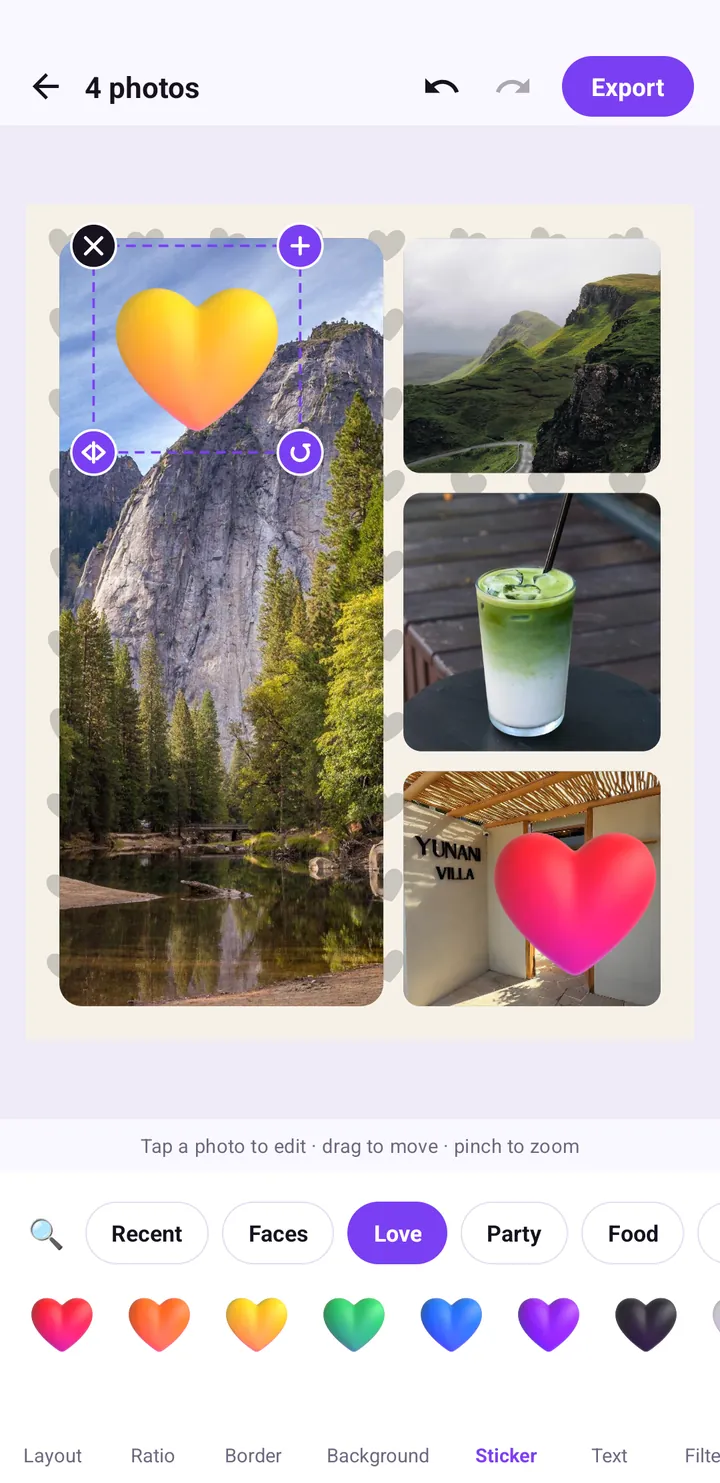
The search icon
At the start of the category row is a magnifying glass. Tap it to search the sticker library instead of browsing. This is the quickest route when you know what you want, such as a particular shape or theme.
Recent
Recent collects the stickers you have used lately. If you have a favourite you put on every collage, this is where you will find it again without scrolling.
Faces
Faces holds expressive face stickers. They are perfect for reacting to a moment in a friend collage or adding humour to a group shot.
Love
Love is a set of glossy, three-dimensional hearts in many colours: red, orange, yellow, green, blue, purple, black and more as you scroll. Matching a heart colour to your photos is an easy way to make the sticker feel part of the design. In our example, a yellow heart echoes the sunlit trees and a red heart adds warmth to the villa photo.
Party
Party is the celebration pack, made for birthdays, anniversaries and New Year posts. It is part of Pop Studio Pro, so it shows as locked in the free version. If you upgrade, it unlocks along with premium poster designs, and ads are removed.
Food
Food is the food-themed pack. Use it on café visits, home-cooked dinners or a food-trip recap.
More categories
The category row scrolls sideways, so swipe it to see further packs beyond Food.
How to add stickers to photos, step by step
- Open your collage or poster and tap the Sticker tab.
- Tap a category chip, for example Love, or tap the search icon and type what you want.
- Tap a sticker. It appears on the canvas, selected, with a dashed box around it.
- Drag it to where you want it.
- Resize and rotate it (see the next section).
- Tap an empty area of the canvas to deselect it, and repeat for any other stickers.
Add stickers after you have settled the layout, ratio and border. If you change the layout afterwards, photo cells move, and a sticker that sat neatly in a corner may end up over a face.
Move, scale and rotate a sticker
When a sticker is selected, a dashed purple box appears around it with round handles on its corners. These handles, plus a few simple gestures, are all you need.
Move
Press on the sticker and drag. It follows your finger anywhere on the canvas, including across the gap between two photos, which is a nice way to "connect" neighbouring cells.
Scale
Use two fingers and pinch outward to make the sticker bigger, inward to make it smaller. The poster editor states this directly in its hint: "pinch to resize". A sticker should usually be noticeably smaller than the faces or subjects in your photo.
Rotate
The circular-arrow handle on the bottom-right corner rotates the sticker. In the poster editor you can also twist with two fingers, as the hint "twist to rotate" says. A slight tilt of 10 to 20 degrees makes a sticker look hand-placed rather than stamped.
Remove
The X handle in the top-left corner deletes the selected sticker. If you remove one by mistake, tap undo at the top of the editor.
Stickers on posters are layers
In the poster editor, each sticker appears in the row of layer chips, for example 1 · Sticker for the airplane in the SUMMER TRIP template. Tap the chip to select the sticker even when it is small or sits on top of a photo.
Choosing the right sticker for the photo
Stickers communicate a feeling. Picking the category that matches the occasion is half the work.
| Occasion | Category | Idea |
|---|---|---|
| Couple photos, anniversaries | Love | One heart in a colour from the photo, near the couple but not over them. |
| Birthdays and celebrations | Party | One celebration sticker in a corner, plus a caption with the name. |
| Friends and group shots | Faces | A reaction face next to the funniest moment. |
| Cafés, dinners, food trips | Food | A small food sticker that matches what is in the photo. |
| Trips | Search | Use search to find a sticker that echoes the destination or the poster theme. |
For complete occasion recipes, see 12 collage ideas for birthdays, trips, friends and couples.
Placement rules that always work
Picking the right sticker is half the job. The other half is where it goes and how big it is. These rules work for collages and posters alike.
Use the rule of odds
One or three stickers usually look more natural than two or four. One is a statement, three is a pattern.
Keep faces clear
Never cover eyes or mouths unless the joke depends on it. Place stickers on sky, walls, tables or the background.
Use the corners and gaps
Corners of the collage and the gaps between photos are natural spots for decoration. A sticker that overlaps two cells slightly ties them together.
Vary the size
If you use more than one sticker, make one larger and the others smaller. Equal sizes compete for attention.
Match the colours
Pick sticker colours that already appear in your photos or background. A yellow heart on a sunny landscape feels deliberate; a random colour can look pasted on.
Stickers, text and filters together
Stickers are rarely alone. A typical finished collage has one or two stickers, a short caption, and one filter tying the photos together.
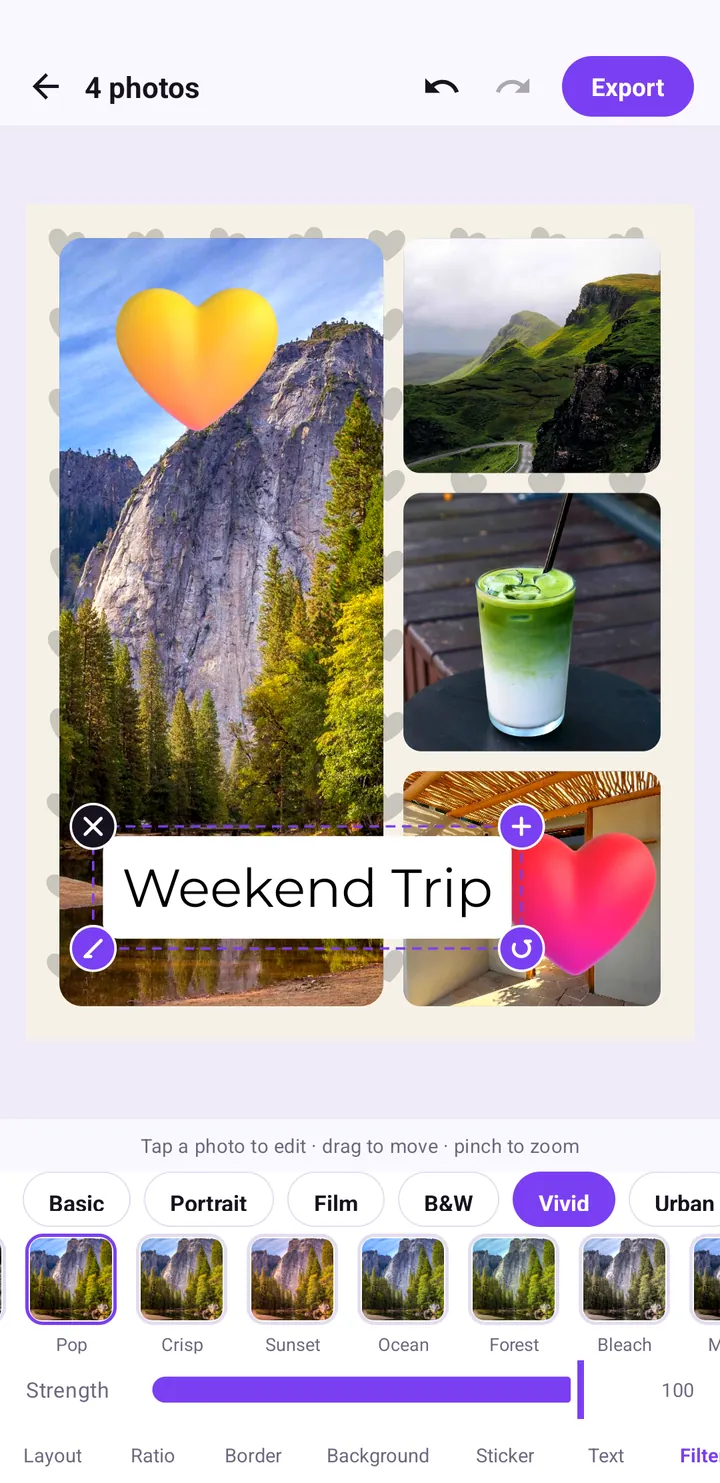
Order of work
- Settle the Layout, Ratio and Border.
- Choose a Background.
- Add stickers on the Sticker tab.
- Add a caption on the Text tab; see how to add text to photos.
- Pick a filter on the Filter tab.
Avoid stacking on text
Keep stickers and captions apart, or let a sticker overlap only the edge of a text label. A sticker in the middle of a word makes it hard to read.
Common sticker mistakes
- Too many stickers. More than three or four on one collage usually feels busy.
- Every sticker the same size. Vary them to create a clear focal point.
- Perfectly straight placement. A small rotation looks more natural.
- Stickers that fight the theme. Party stickers on a calm landscape collage confuse the mood.
- Forgetting to check the edges. Before you export, make sure no sticker is cut off by the canvas edge, unless you meant it to be.
Exporting and sharing
When you are done, tap Export and choose JPEG · smaller file or PNG · lossless. Stickers are flattened into the image, so they appear exactly as you placed them, wherever you share it.
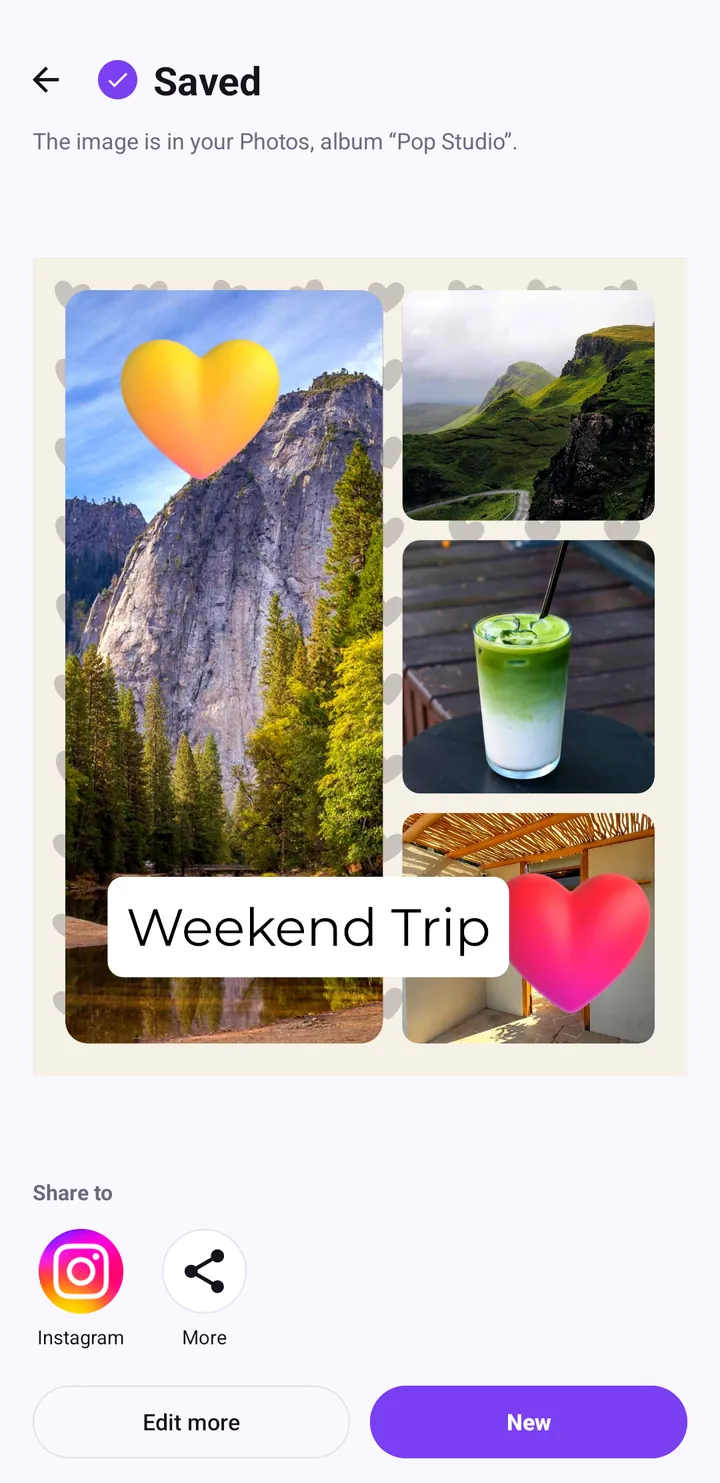
The Saved screen confirms the image is in your Photos, in the "Pop Studio" album, and offers Instagram and More for sharing. All of this happens on your phone; your photos are not uploaded. For details, read save, share and find your creations.
About the Party pack and Pro
Most sticker categories are free. The Party pack is part of Pop Studio Pro, the optional upgrade that also unlocks premium poster designs and removes ads. Pro comes as Weekly, Yearly or Lifetime, with prices shown in Google Play, and it is tied to your Google Play account, so a reinstall restores it via Restore purchases in Settings. Questions? Visit our support page.
Wrap-up
Stickers are simple: open the Sticker tab, pick a category or search, tap, then drag, pinch and rotate it into place. The difference between cute and cluttered comes down to a few habits: fewer stickers, varied sizes, slight tilts, colours borrowed from the photo, and faces left clear. Try it on your next collage, and if you are new to the app, start with the Pop Studio beginner guide.
Frequently asked questions
How do I add stickers to photos on Android?
In Pop Studio, open a collage or poster, tap the Sticker tab, choose a category such as Love or Faces, and tap a sticker. It appears on the canvas, ready to move.
How do I resize or rotate a sticker?
Select the sticker and pinch with two fingers to resize it. Use the circular-arrow handle on its corner to rotate it; in the poster editor you can also twist with two fingers.
How do I delete a sticker?
Tap the sticker to select it, then tap the X handle in its top-left corner. If you delete one by mistake, tap undo.
Are all sticker packs free?
Most categories are free. The Party pack is part of the optional Pop Studio Pro upgrade, which also unlocks premium poster designs and removes ads.
Keep reading
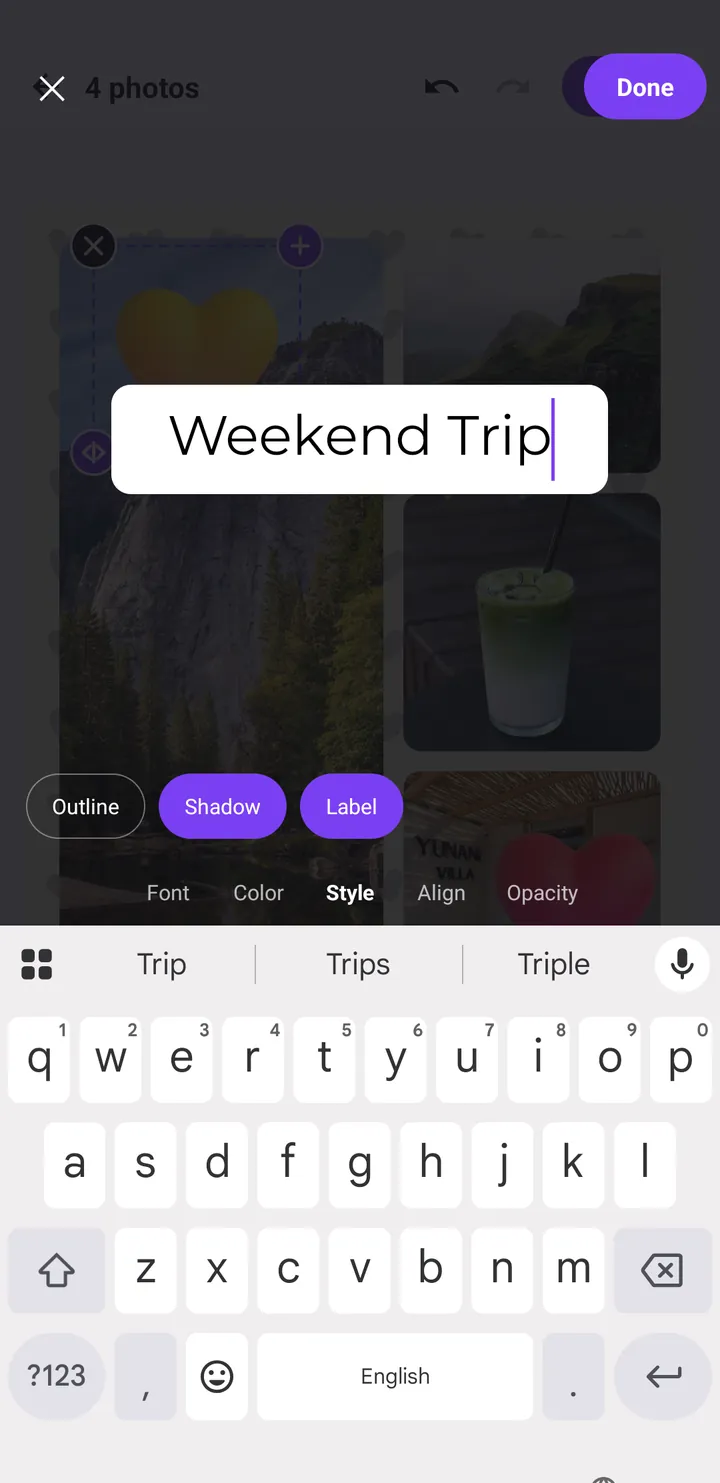
Add Text to Photos on Android: Fonts, Styles and Placement
How to put a clean, readable caption on any collage or poster in Pop Studio, from the Font, Color, Style, Align and Opacity options to placement and typography tips.
Read the guide →12 collage ideas for birthdays, couples, trips, food and friends
Twelve collage ideas for birthdays, couples, trips, food and friends, each with the exact layouts, ratios, stickers and poster templates to use in Pop Studio.
Read the guide →Poster Templates: Make a Summer Trip Travel Poster Fast
Turn your trip photos into a finished travel poster with Pop Studio's poster templates. We build a SUMMER TRIP poster step by step, then personalise it.
Read the guide →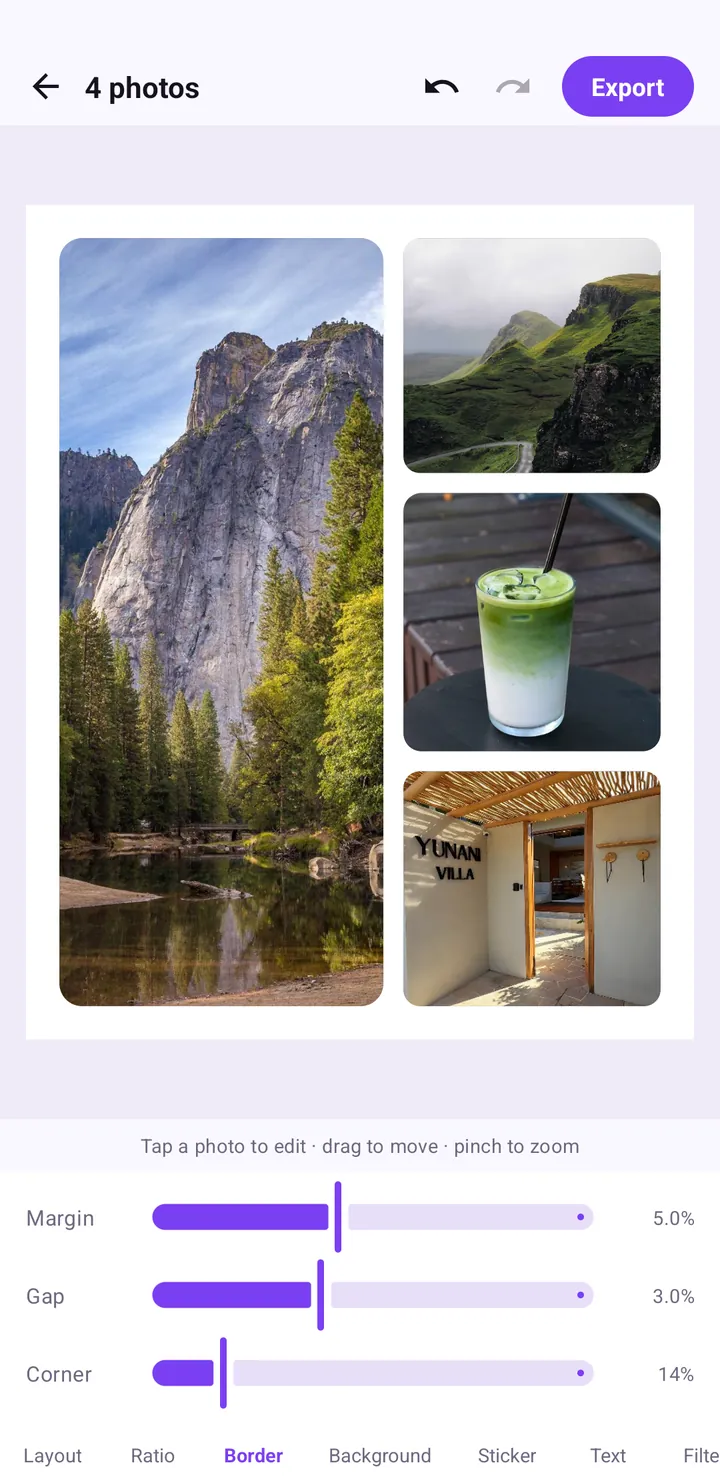
Collage border spacing, ratio and background colour, explained
How the Ratio, Border and Background tabs work: which ratio to choose for feed or Stories, the Margin, Gap and Corner settings that look clean, and how to pick a background.
Read the guide →